Setup a VMware Cloud Profile for PostgreSQL
This document outlines the steps to create your VMware® Cloud Profile for PostgreSQL.
Pre-requisites
- You must have a working ScaleGrid Enterprise VMware vSphere® vApp™, with an IP that will not change (either a static IP, or reserved at the DHCP server).
- You must have set up appropriate permissions for the VMware vCenter® user you plan to use.
- The network you choose in step-4 must have a DHCP server
- If the network you choose in step 4 does not have outbound internet connectivity, you must add code to configure local yum mirrors in the script located at
/usr/lib/scalegrid/server/conf/linux_installer/kickstarter/customizeTemplate.sh - You must have a dedicated datastore to host your long-term database backups. We recommend you use an NFS datastore for this purpose.
- You must have a working NFS share (or a CIFS share in case of SQL Server), that can be accessed by all database VMs. In other words, the share must be accessible in the network you choose in step-4. This is required to facilitate continuous backups
Step 1: Enter your vCenter credentials
Click on the Cloud Profiles link in the left-side menu of the ScaleGrid console, then select the VMware button under the “New Cloud Profile” section. Once the creation wizard opens, enter a Cloud Profile name, select PostgreSQL as your database type, enter your vCenter server name (IP or hostname), vCenter username and vCenter password, and click Next.
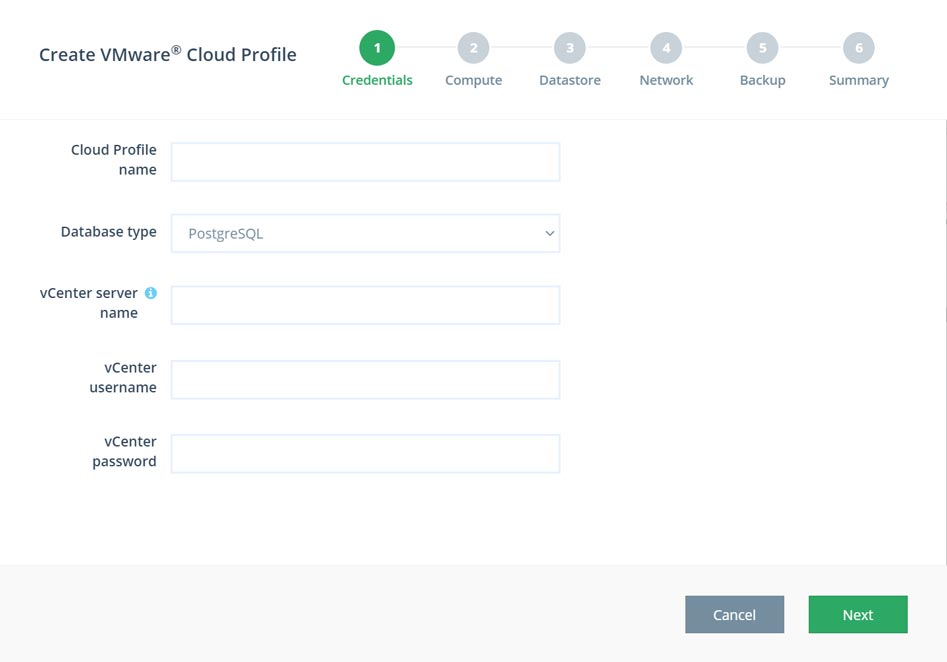
Step 1: Enter your vCenter credentials
Step 2: Select compute
In this step, select one of the clusters, hosts or resource pools available in the list. Once you have made your selection, click Next to continue.
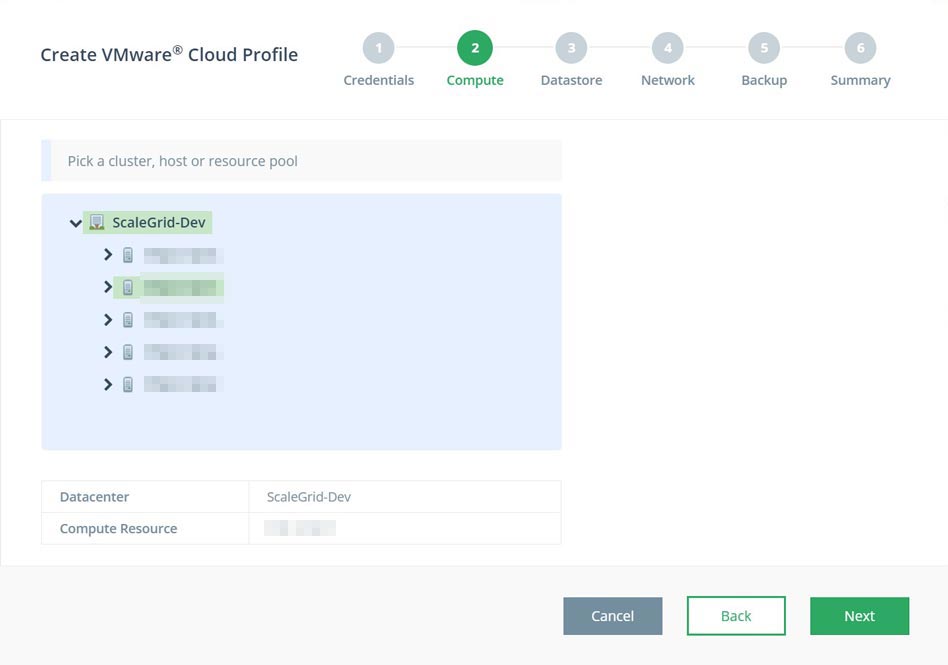
Step 2: Select compute
Step 3: Select a datastore
Select a datastore to use for your VM hard disks in the dropdown menu, followed by clicking Next to continue.
The data disk contains both your WAL log and your actual data. We recommend putting this on datastores backed by SSD disks.
The OS disk will contain the ScaleGrid management agent, and PostgreSQL logs.
Can't see your datastore in the dropdown?Make sure it is actually accessible from your selected compute resource, and that the vCenter user has browse datastore privileges
Advanced optionIf you prefer to have different datastores for each disk, click “Show advanced options” to be able to make those selections.
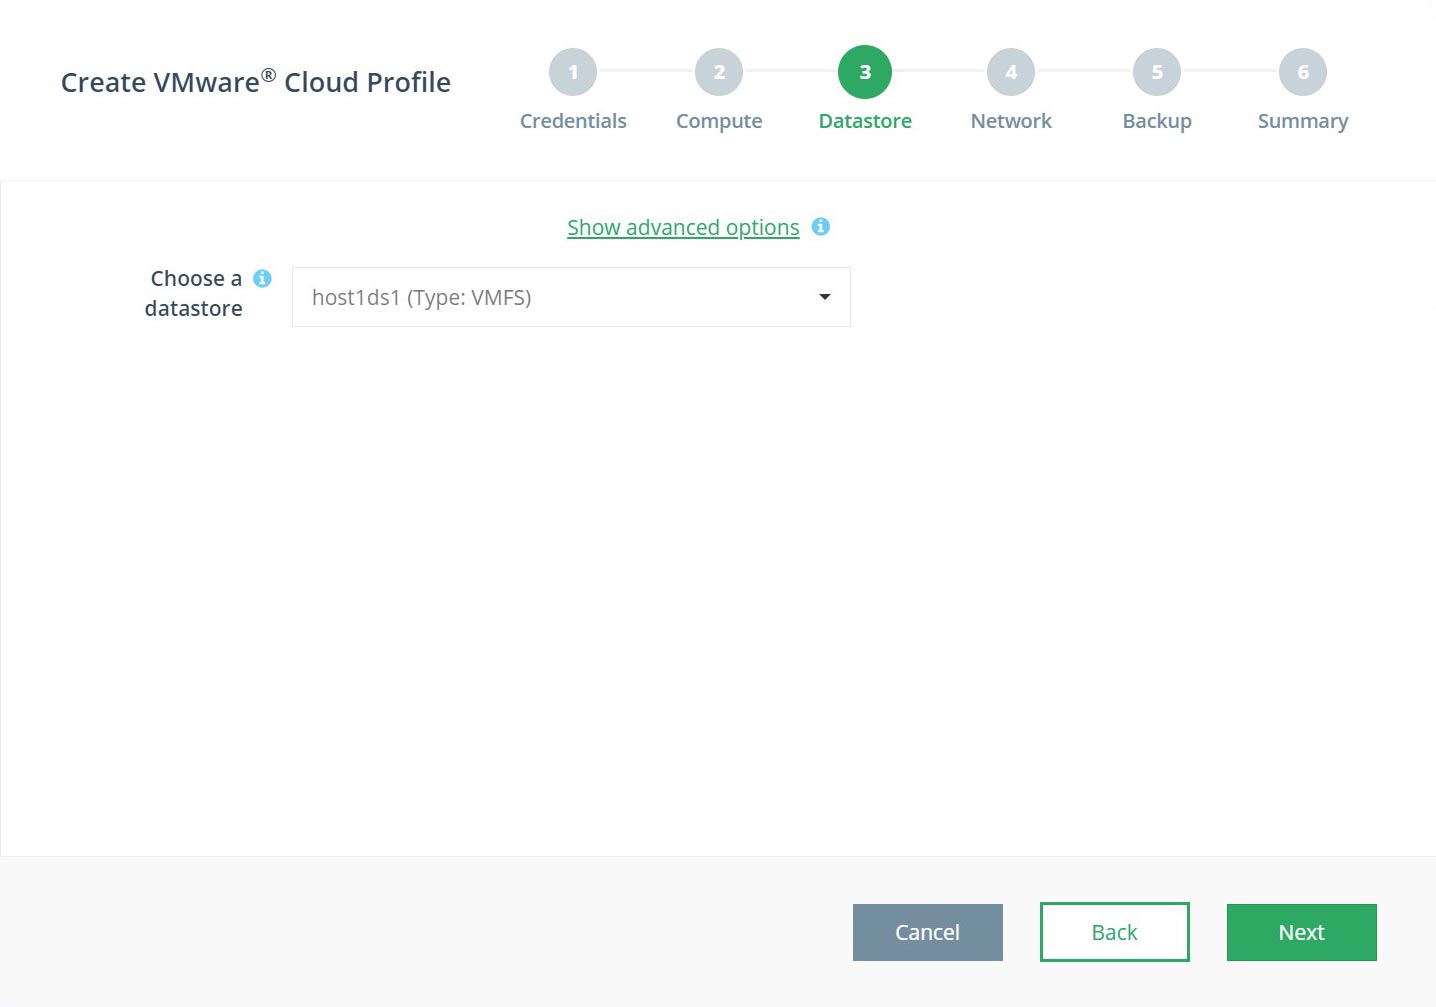
Step 3: Select a datastore
Step 4: Select a network
Select a network in the dropdown menu. Keep in mind that a DHCP server must be available on the selected network. Once you are ready, click Next to continue.
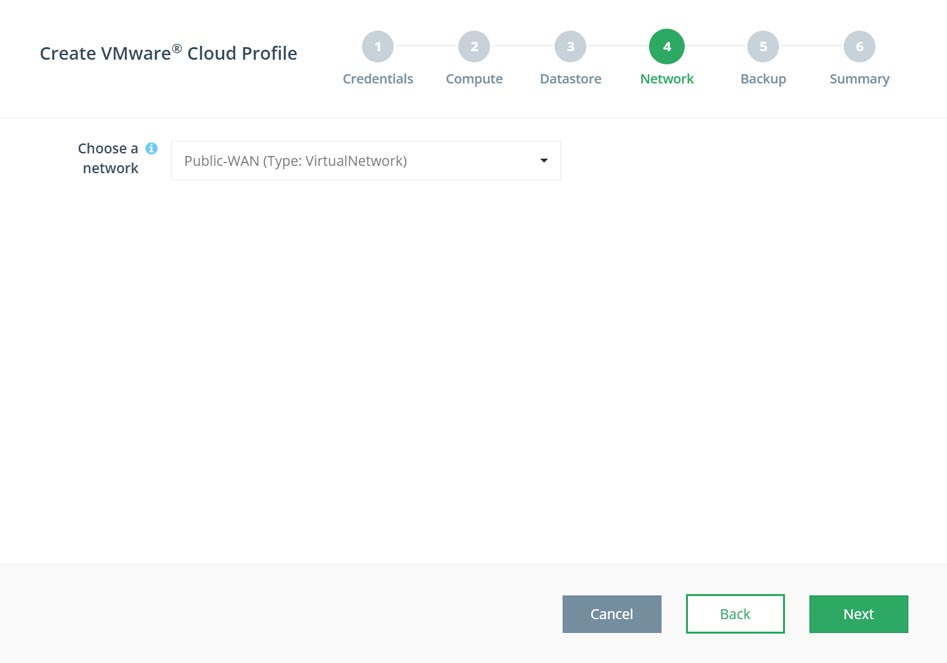
Step 4: Select a network
Step 5: Backup
In this step you need to select a datastore to hold your long-term full backups, and a network folder to hold your periodic WAL log backups.
The selected datastore will be used to store long-term full backups of your database machines.
If you selected an ESX cluster to deploy on, all hosts that form the cluster must be able to access the same backup datastore.
In a DR-scenario, all nodes of your PostgreSQL deployment must be able to access the backup datastore.
We recommend using an NFS-backed datastore that can be mounted on all hosts you plan to use.
The network folder will be used to store your periodic backups of database logs. All machines in a database deployment must be able to mount this folder.
Once you have made your selections, click Next to continue.
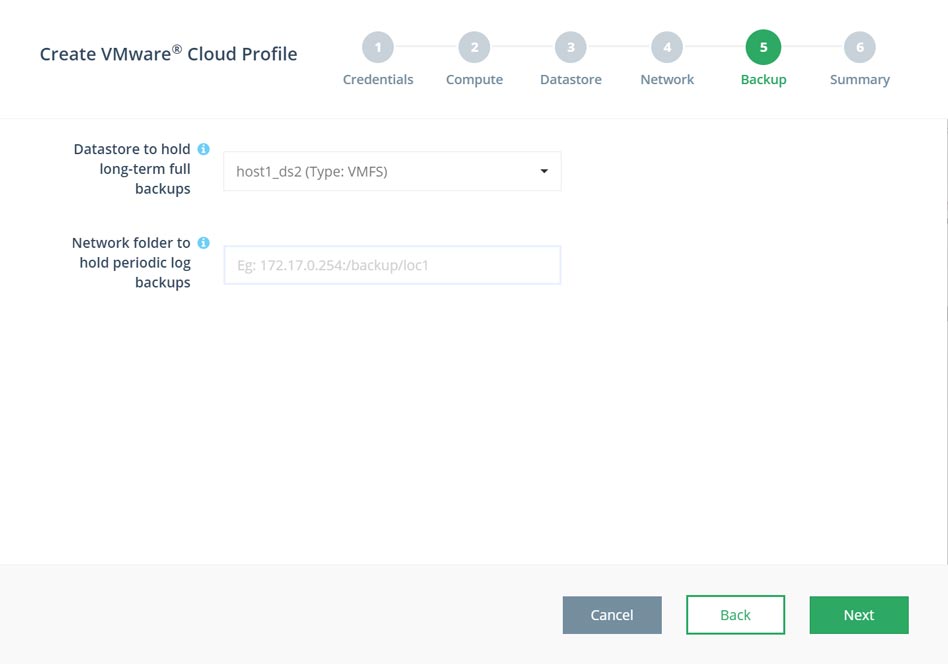
Step 5: Backup
Step 6: Summary
You have now entered all the necessary information to create your VMware Cloud Profile for PostgreSQL. In this final step, review your information to make sure that there are no errors. Once you have confirmed that your information is correct, click Create.
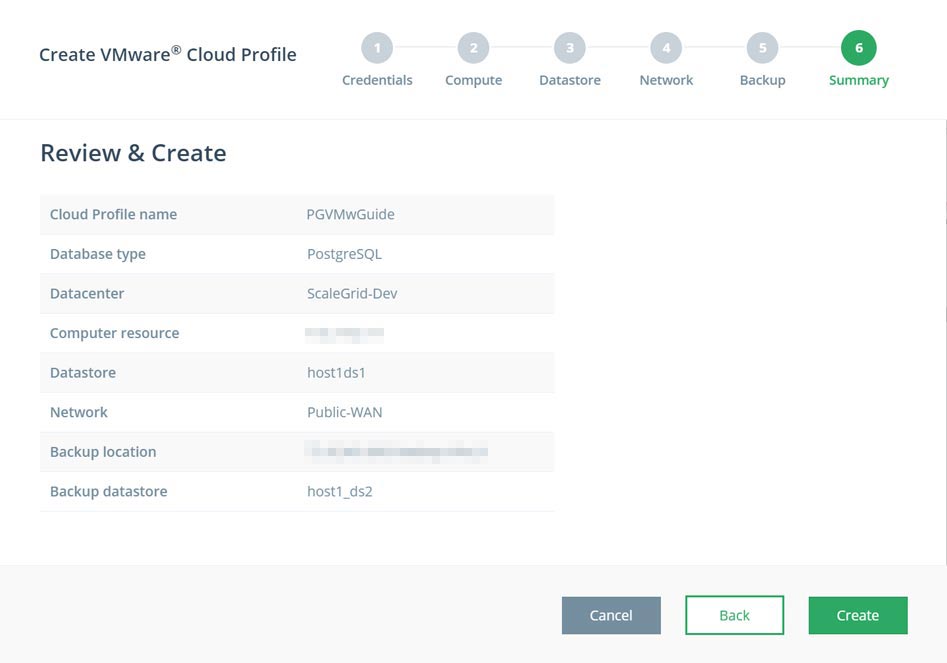
Step 6: Summary
And that’s it! You have now set up your VMware Cloud Profile for PostgreSQL and are ready to create your first PostgreSQL cluster with ScaleGrid. If you run into any problems during your setup, file a support ticket or email us at [email protected].
CentOS-7 TemplateScaleGrid uses a common CentOS-7 template for all its database machines. Creating this template typically takes about 10 minutes and is a one time process per datacenter. For this reason, the first cloud profile you create can take approximately 10 minutes to create.
Updated 8 months ago
