New MongoDB® Cluster: Dedicated Hosting
Database Cluster - Dedicated Hosting Setup
- Estimated time to complete: 5 minutes
- Start your trial on the ScaleGrid Console.
- Select MongoDB® Database and then your cloud provider of choice, click Configure Your Cluster in the bottom left-hand corner and the creation wizard will guide you through the configuration:
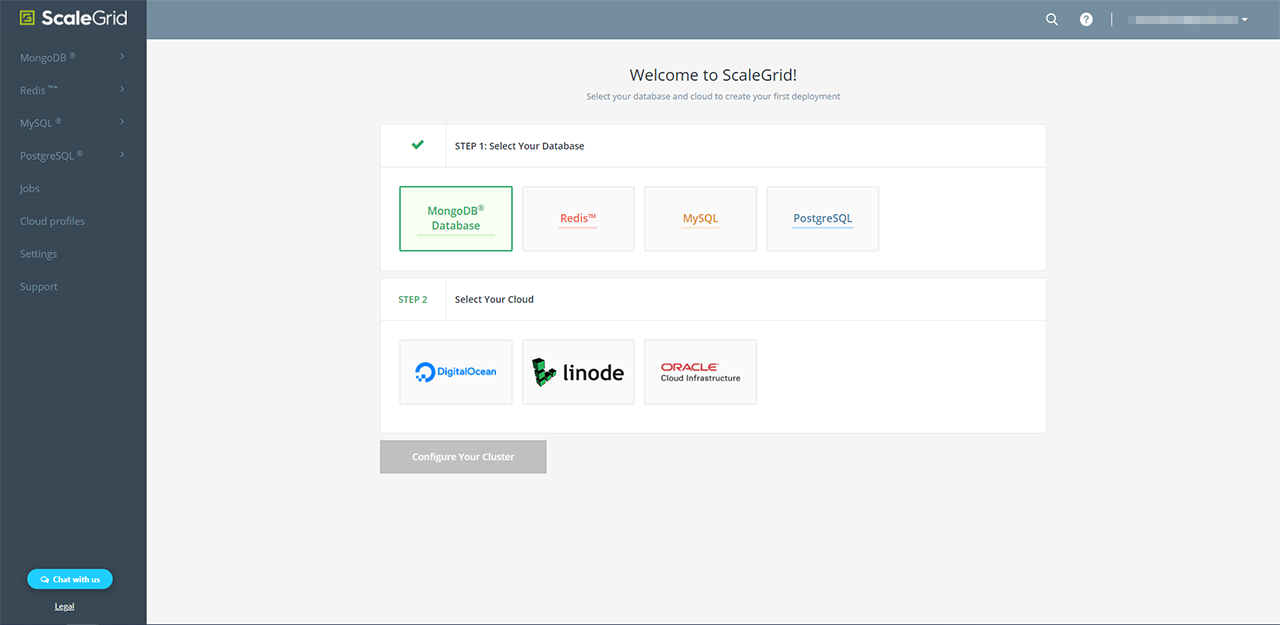
Step 1. New Cluster
- Name: In the pop-up menu, set a name for your cluster using alphanumeric characters.
- Cloud Profile: Choose from a wide variety of different cloud providers and regions to host your MongoDB® dedicated clusters through ScaleGrid. Check out the data centers available under each cloud provider for MongoDB® here.
- VM Size: Select your virtual machine (VM) size for the MongoDB® cluster you wish to create, ranging from Micro to X4XLarge.
- Version: Then, select the MongoDB® version that you wish to use.
- Storage Engine: Lastly, select either WiredTiger or MMAP v1 as the storage engine to use for your MongoDB® cluster.
After you've entered and reviewed all the information on the 1. New Cluster step, click the green Next button.
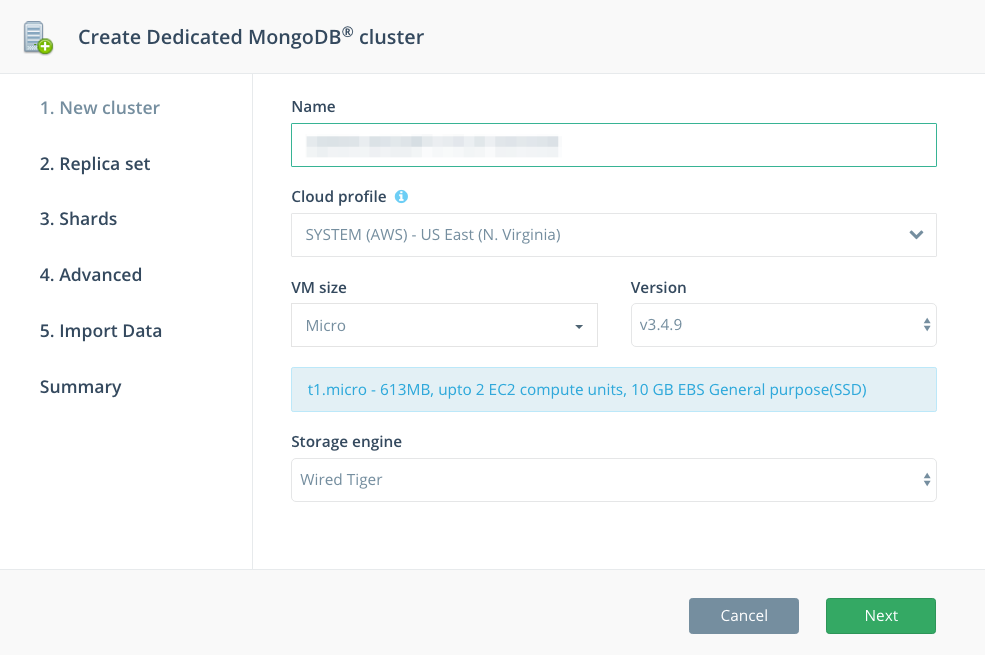
Step 2. Replica Set
You have the option to enable replica sets for your MongoDB® cluster. Select the Yes checkbox, and then choose your replica type. From there, you will be prompted to select the data center you'd like to use for each replica:
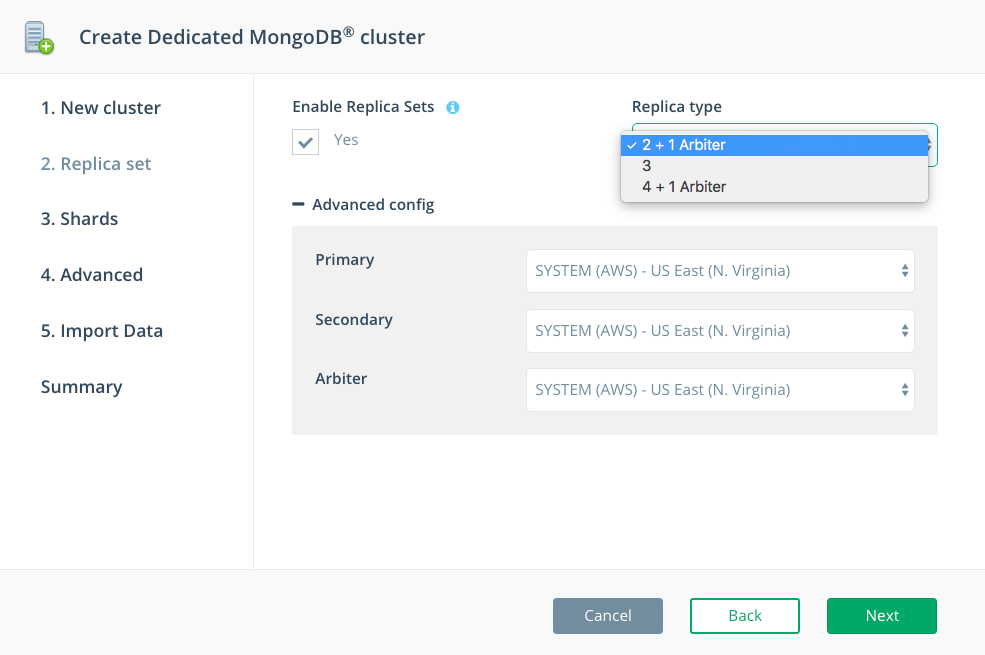
Step 3. Shards
To enable sharding for your cluster, you must first enter your payment information in the billing portal.
Step 4. Advanced
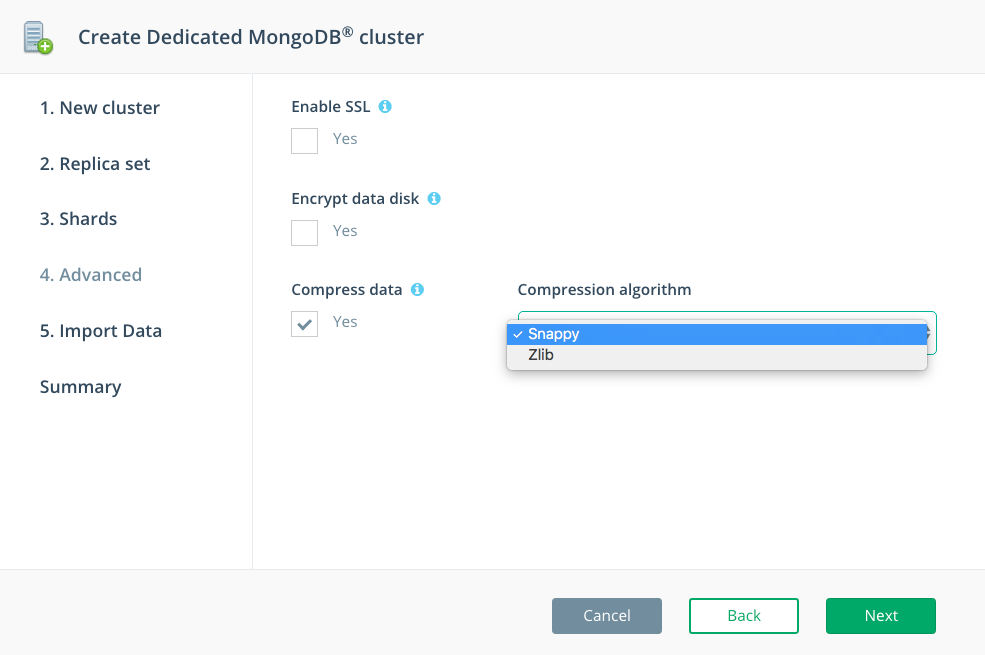
Next, you can enable SSL, encrypt your data disk, and enable disk compression. Click these boxes to enable, and select either Snappy or zlib as the compression algorithm you wish to use. After configuring, click the green Next button:
Step 5. Import Data
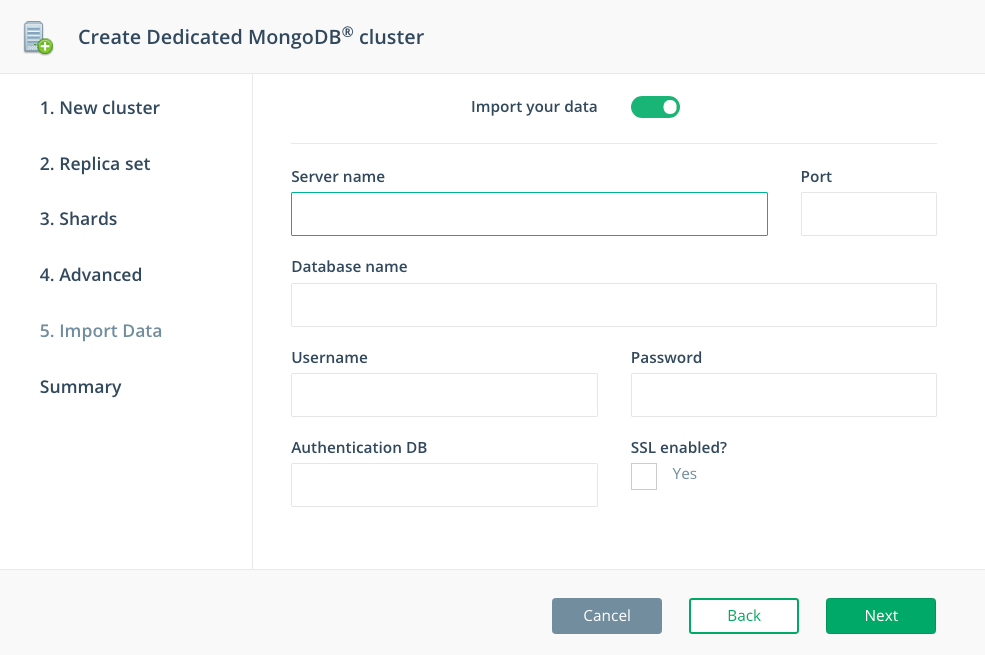
You also have the option to import data from your existing MongoDB® deployments into your new cluster. Simply turn on the “Import your data” button, and enter the following details on the data you’d like to import before clicking “Next”:
- Server name
- Port
- Database name
- Username
- Password
- Authentication DB
- SSL enabled (optional)
Step 6. Summary
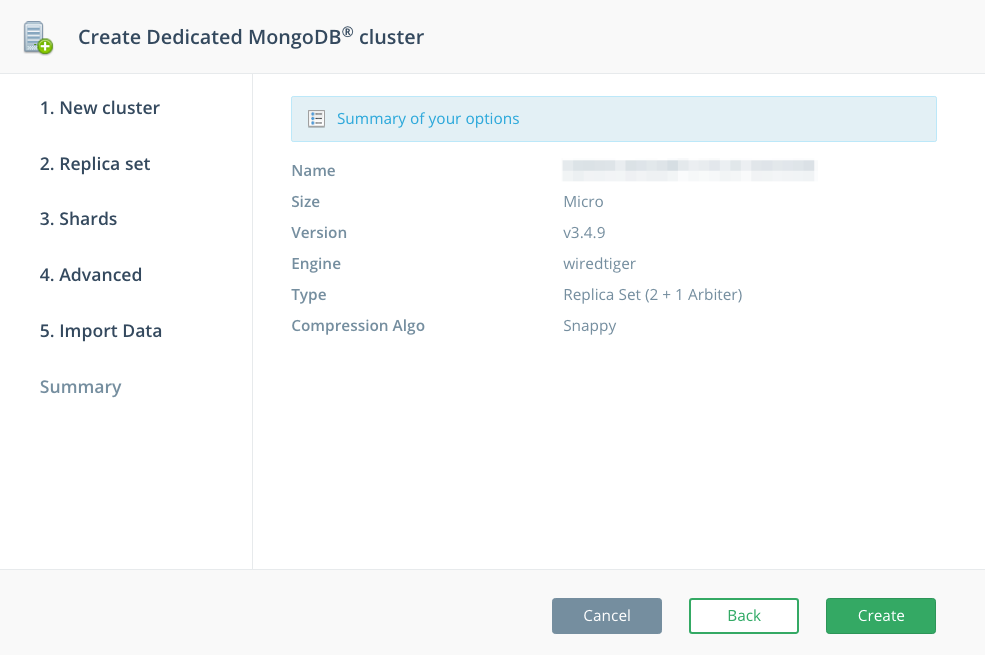
On the last page, review the MongoDB® Dedicated Cluster details you’ve entered. If all the information is correct, click “Create.”
Step 7. Grab Your Credentials
Find detailed instructions with code samples on our Connecting to MongoDB® with ScaleGrid page.
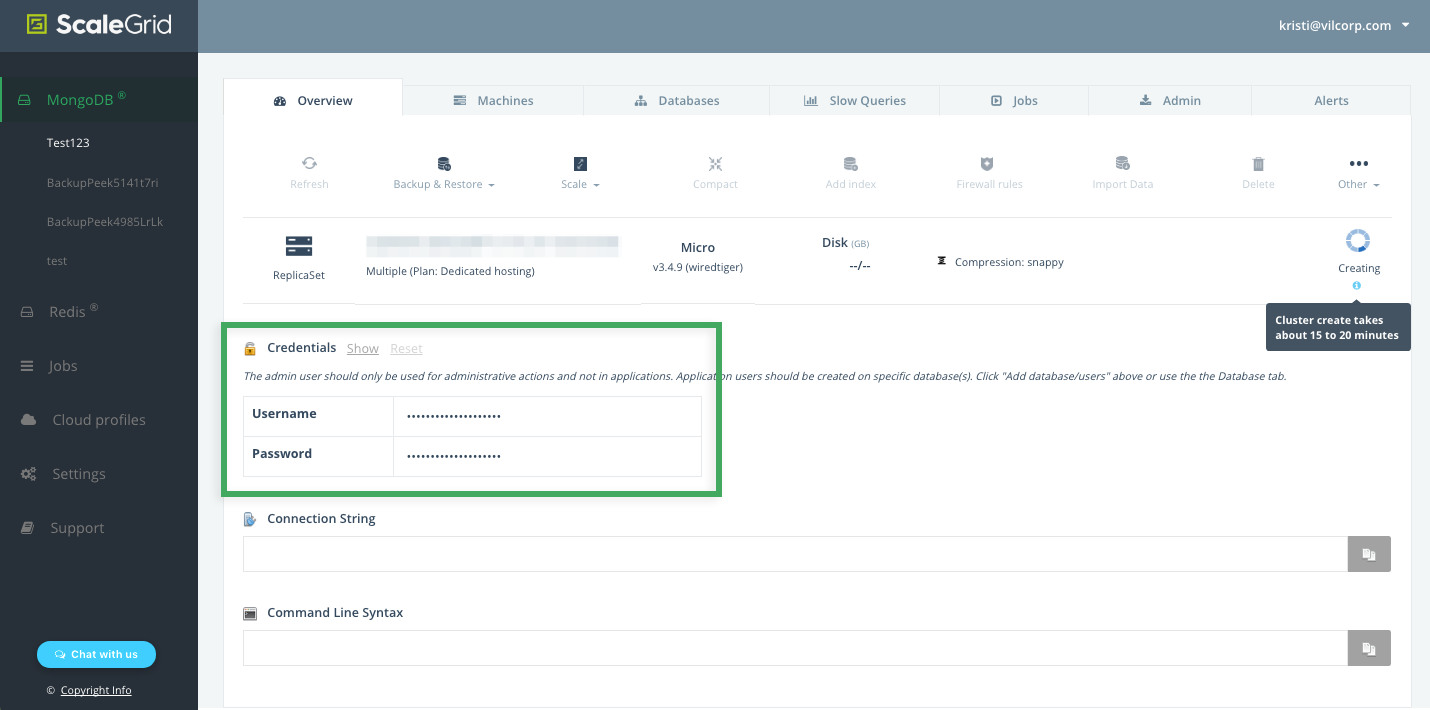
Your cluster is now being created! This process takes 15-20 minutes, and the “Creating” status on the right-hand side will change to “Running” once it’s complete. While your cluster is being created, grab your credentials to connect to your MongoDB® by going into your new cluster and then clicking “Show” next to the Credentials section halfway down your cluster page.
Updated 8 months ago
