
Setup a VMware Cloud Profile for SQL Server
This document outlines the steps to create your VMware® Cloud Profile for Microsoft SQL Server.
Pre-requisites
- Ensure you have admin access over your entire vCenter.
- You must have set up appropriate permissions for the VMware vCenter® user you plan to use.
- You must have a DHCP server.
- You must have a dedicated datastore to host your long-term database backups. We recommend you use an NFS datastore for this purpose.
- You must have a working NFS share (or a CIFS share in case of SQL Server), that can be accessed by all database VMs.
- You must have SQL Server gold image created. See SQL Server Gold Image Creation.
- You must have an Active Directory setup. It is for SQL Server machines to join the Active Directory domain.
Step 1: Enter your vCenter Credentials
Click the Cloud Profile link from the left menu of the ScaleGrid console. Select VMware button under the “New Cloud Profile” on the right of the page.
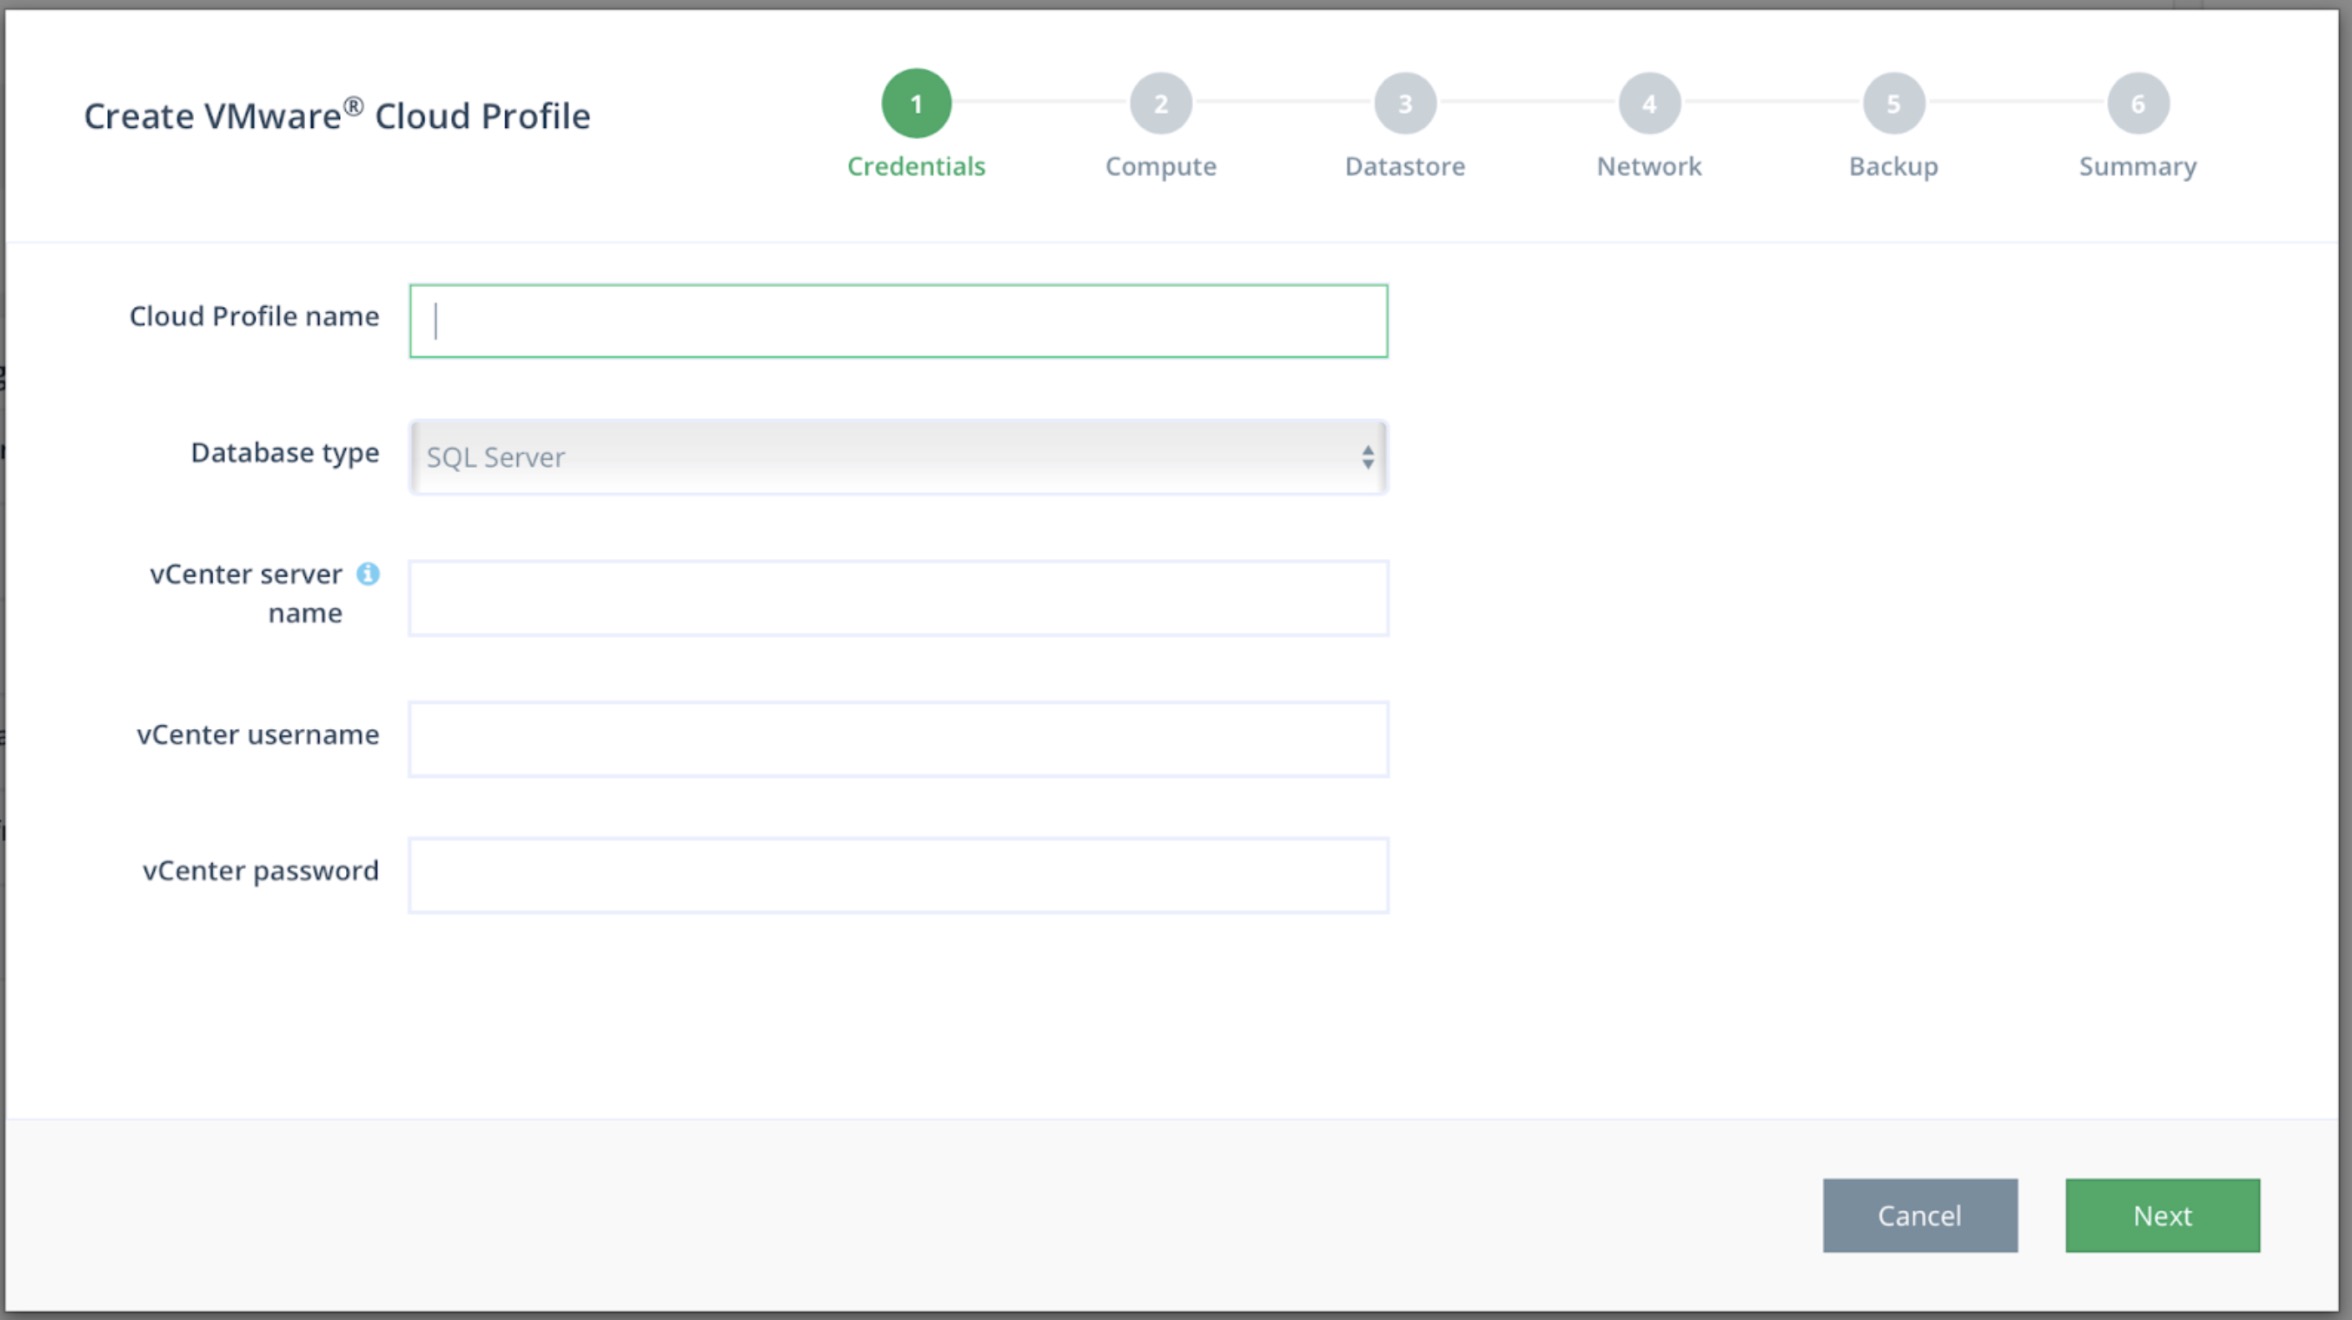
- Cloud Profile name: Name of this cloud profile.
- Database type: SQL Server
- vCenter server name: IP or public hostname of your vCenter server.
- vCenter username: Username of vCenter.
- vCenter password: Password of the vCenter username.
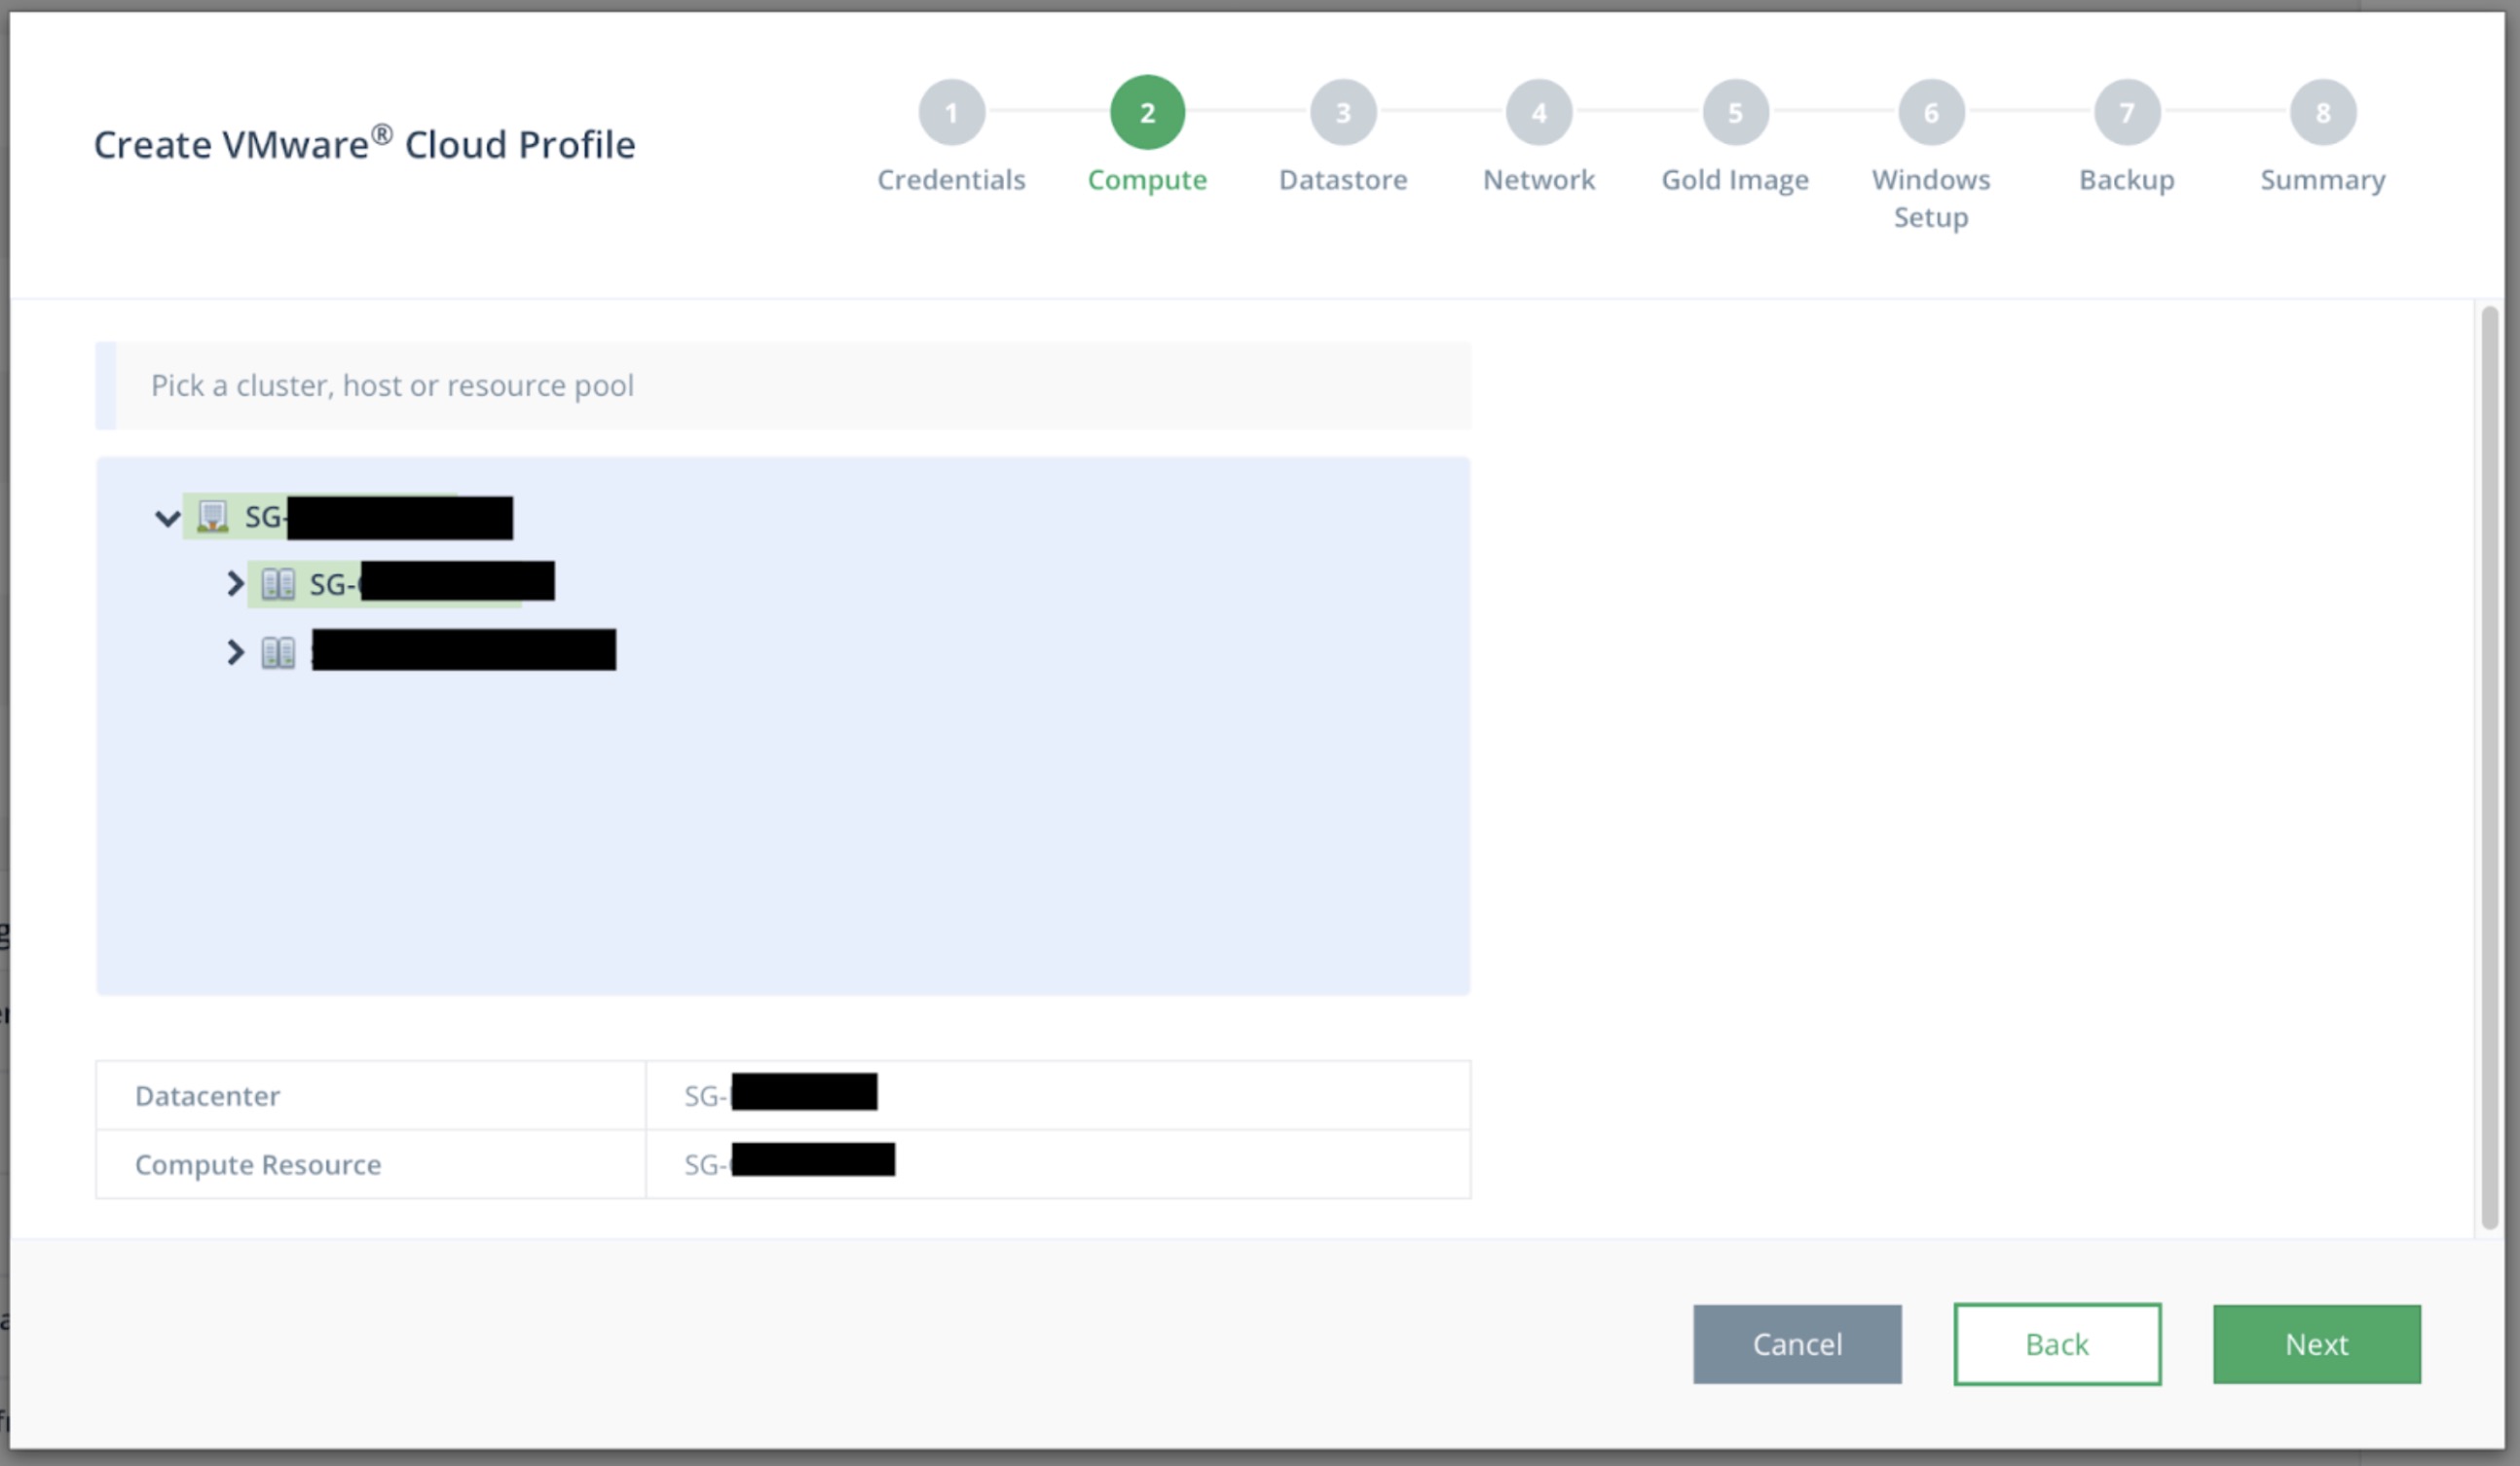
Step 2: Select Compute
Select one of the clusters, host or resource pools from the list then click the Next button.
Step 3: Select a Datastore
Select a datastore to use for your VM hard disks in the dropdown menu, followed by clicking Next to continue.
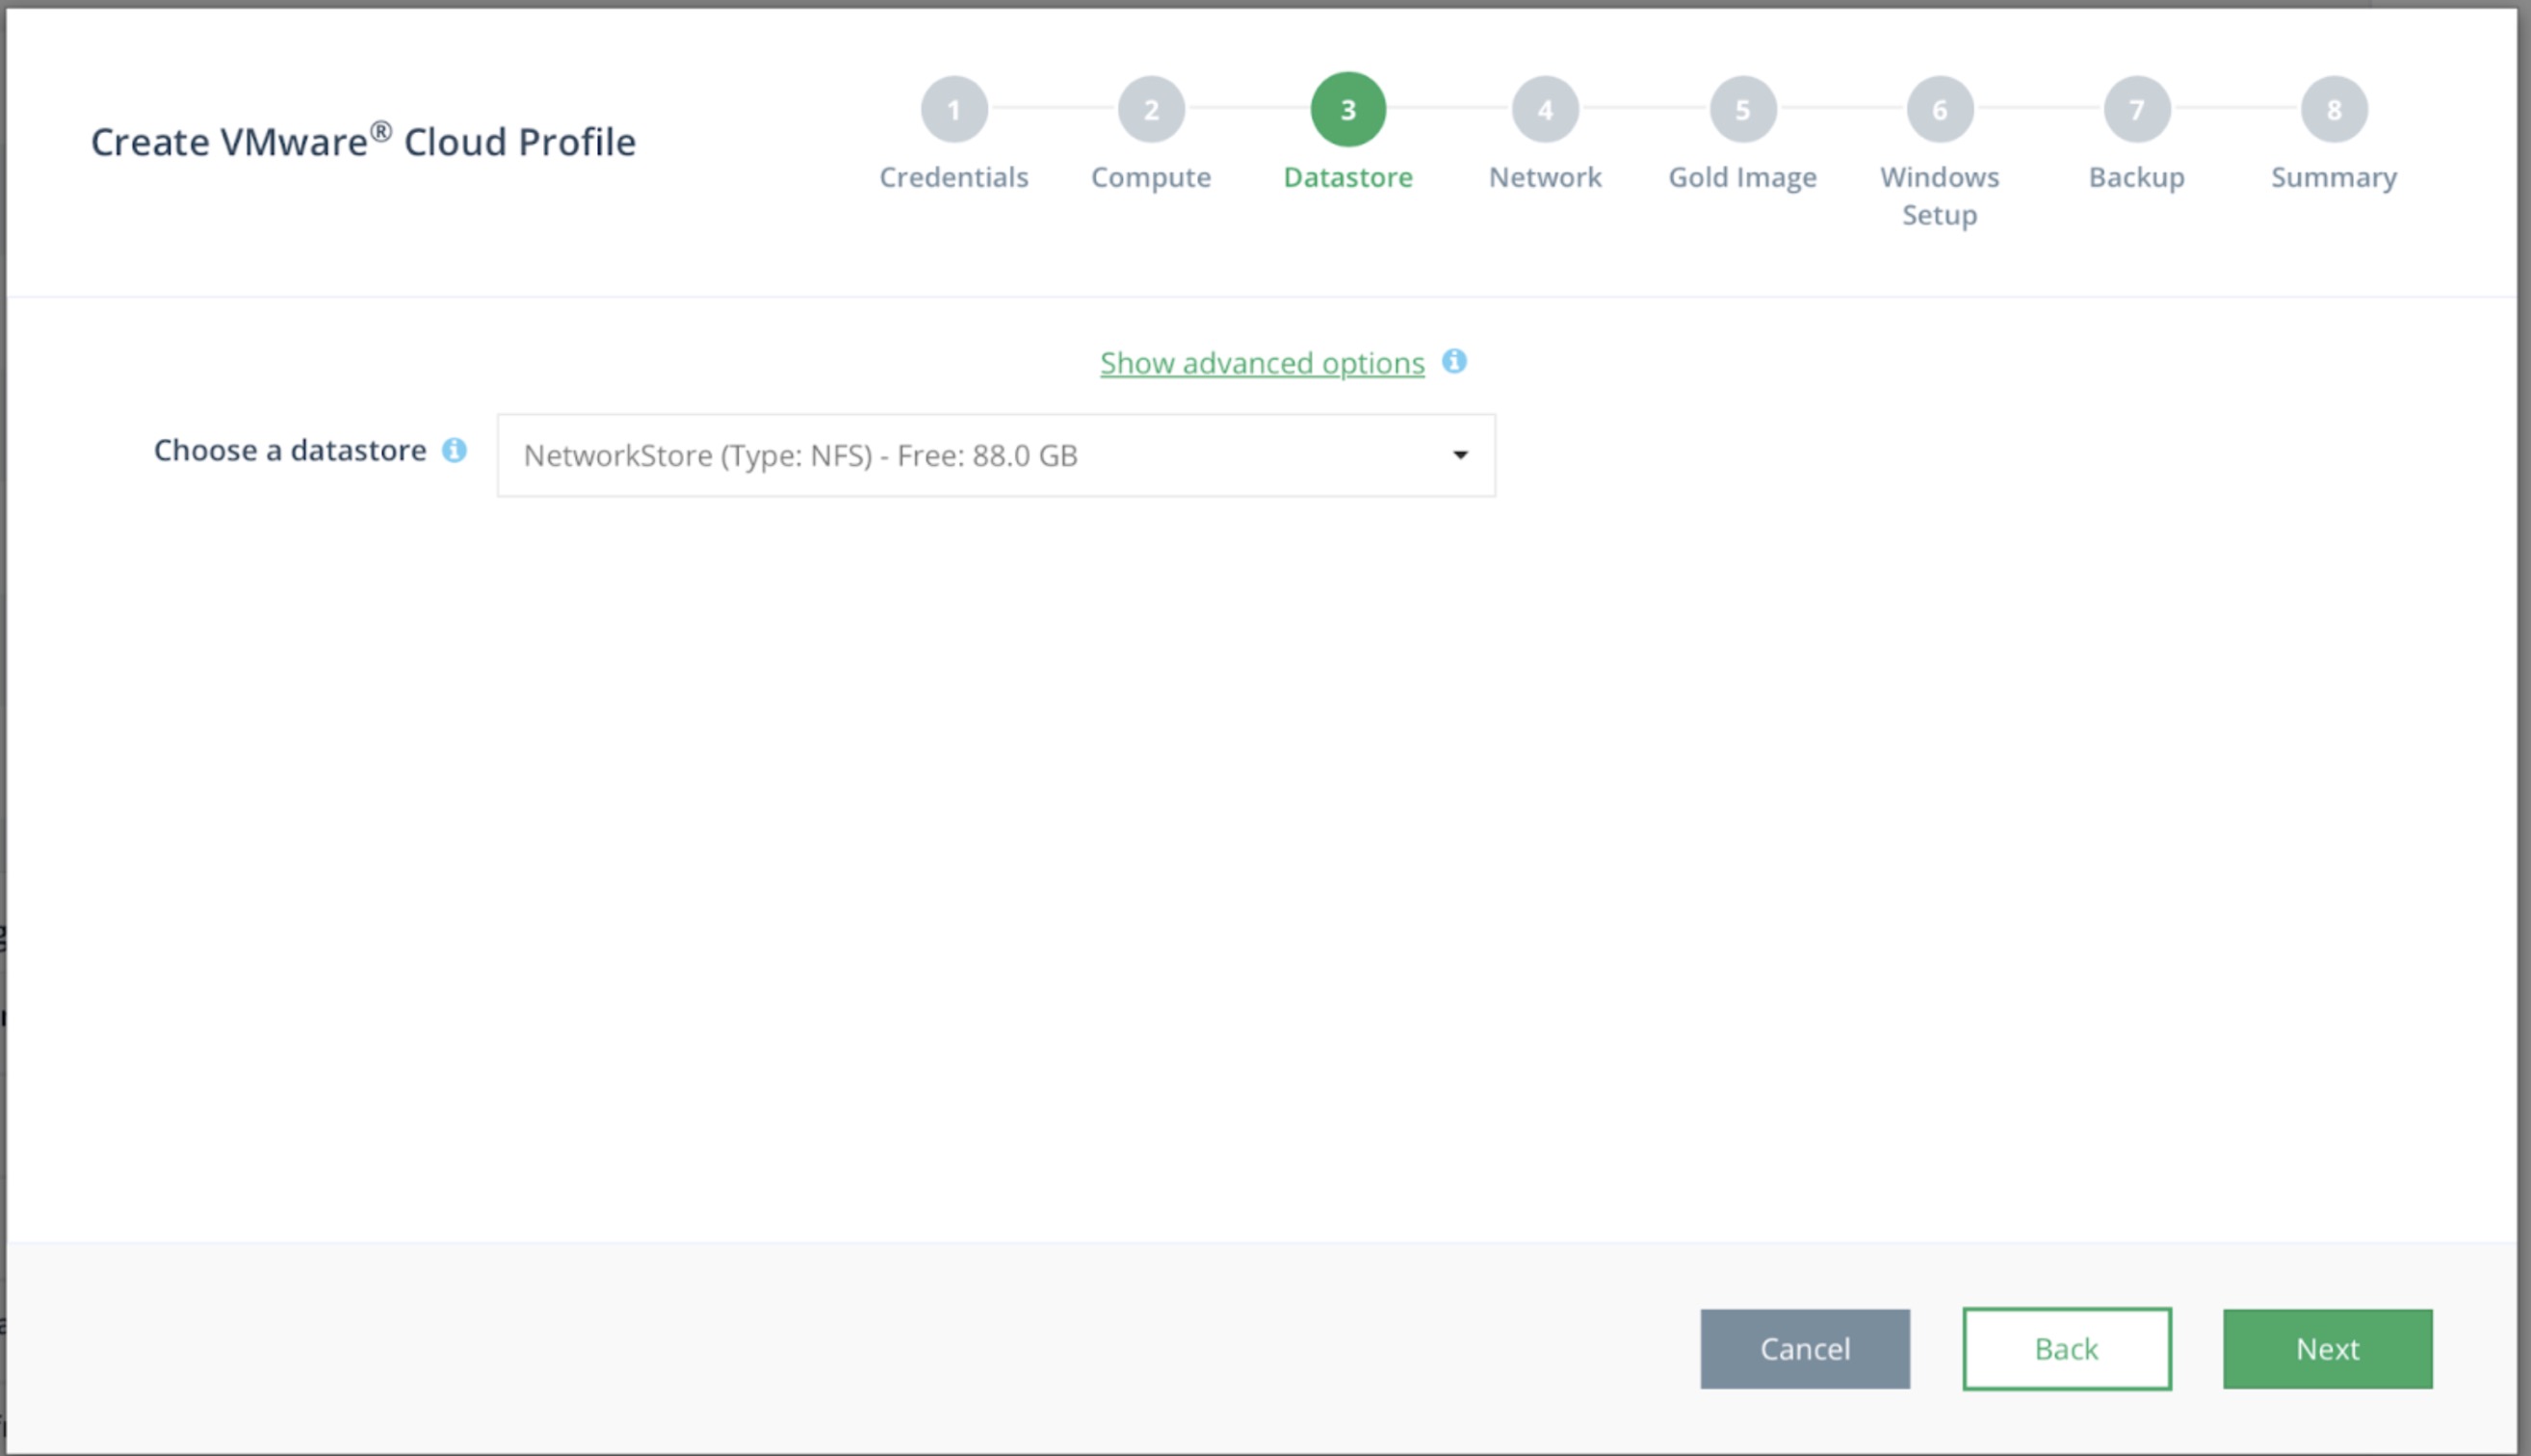
Advanced option: If you prefer to have different datastores for each disk, click “Show advanced options” to be able to make those selections.
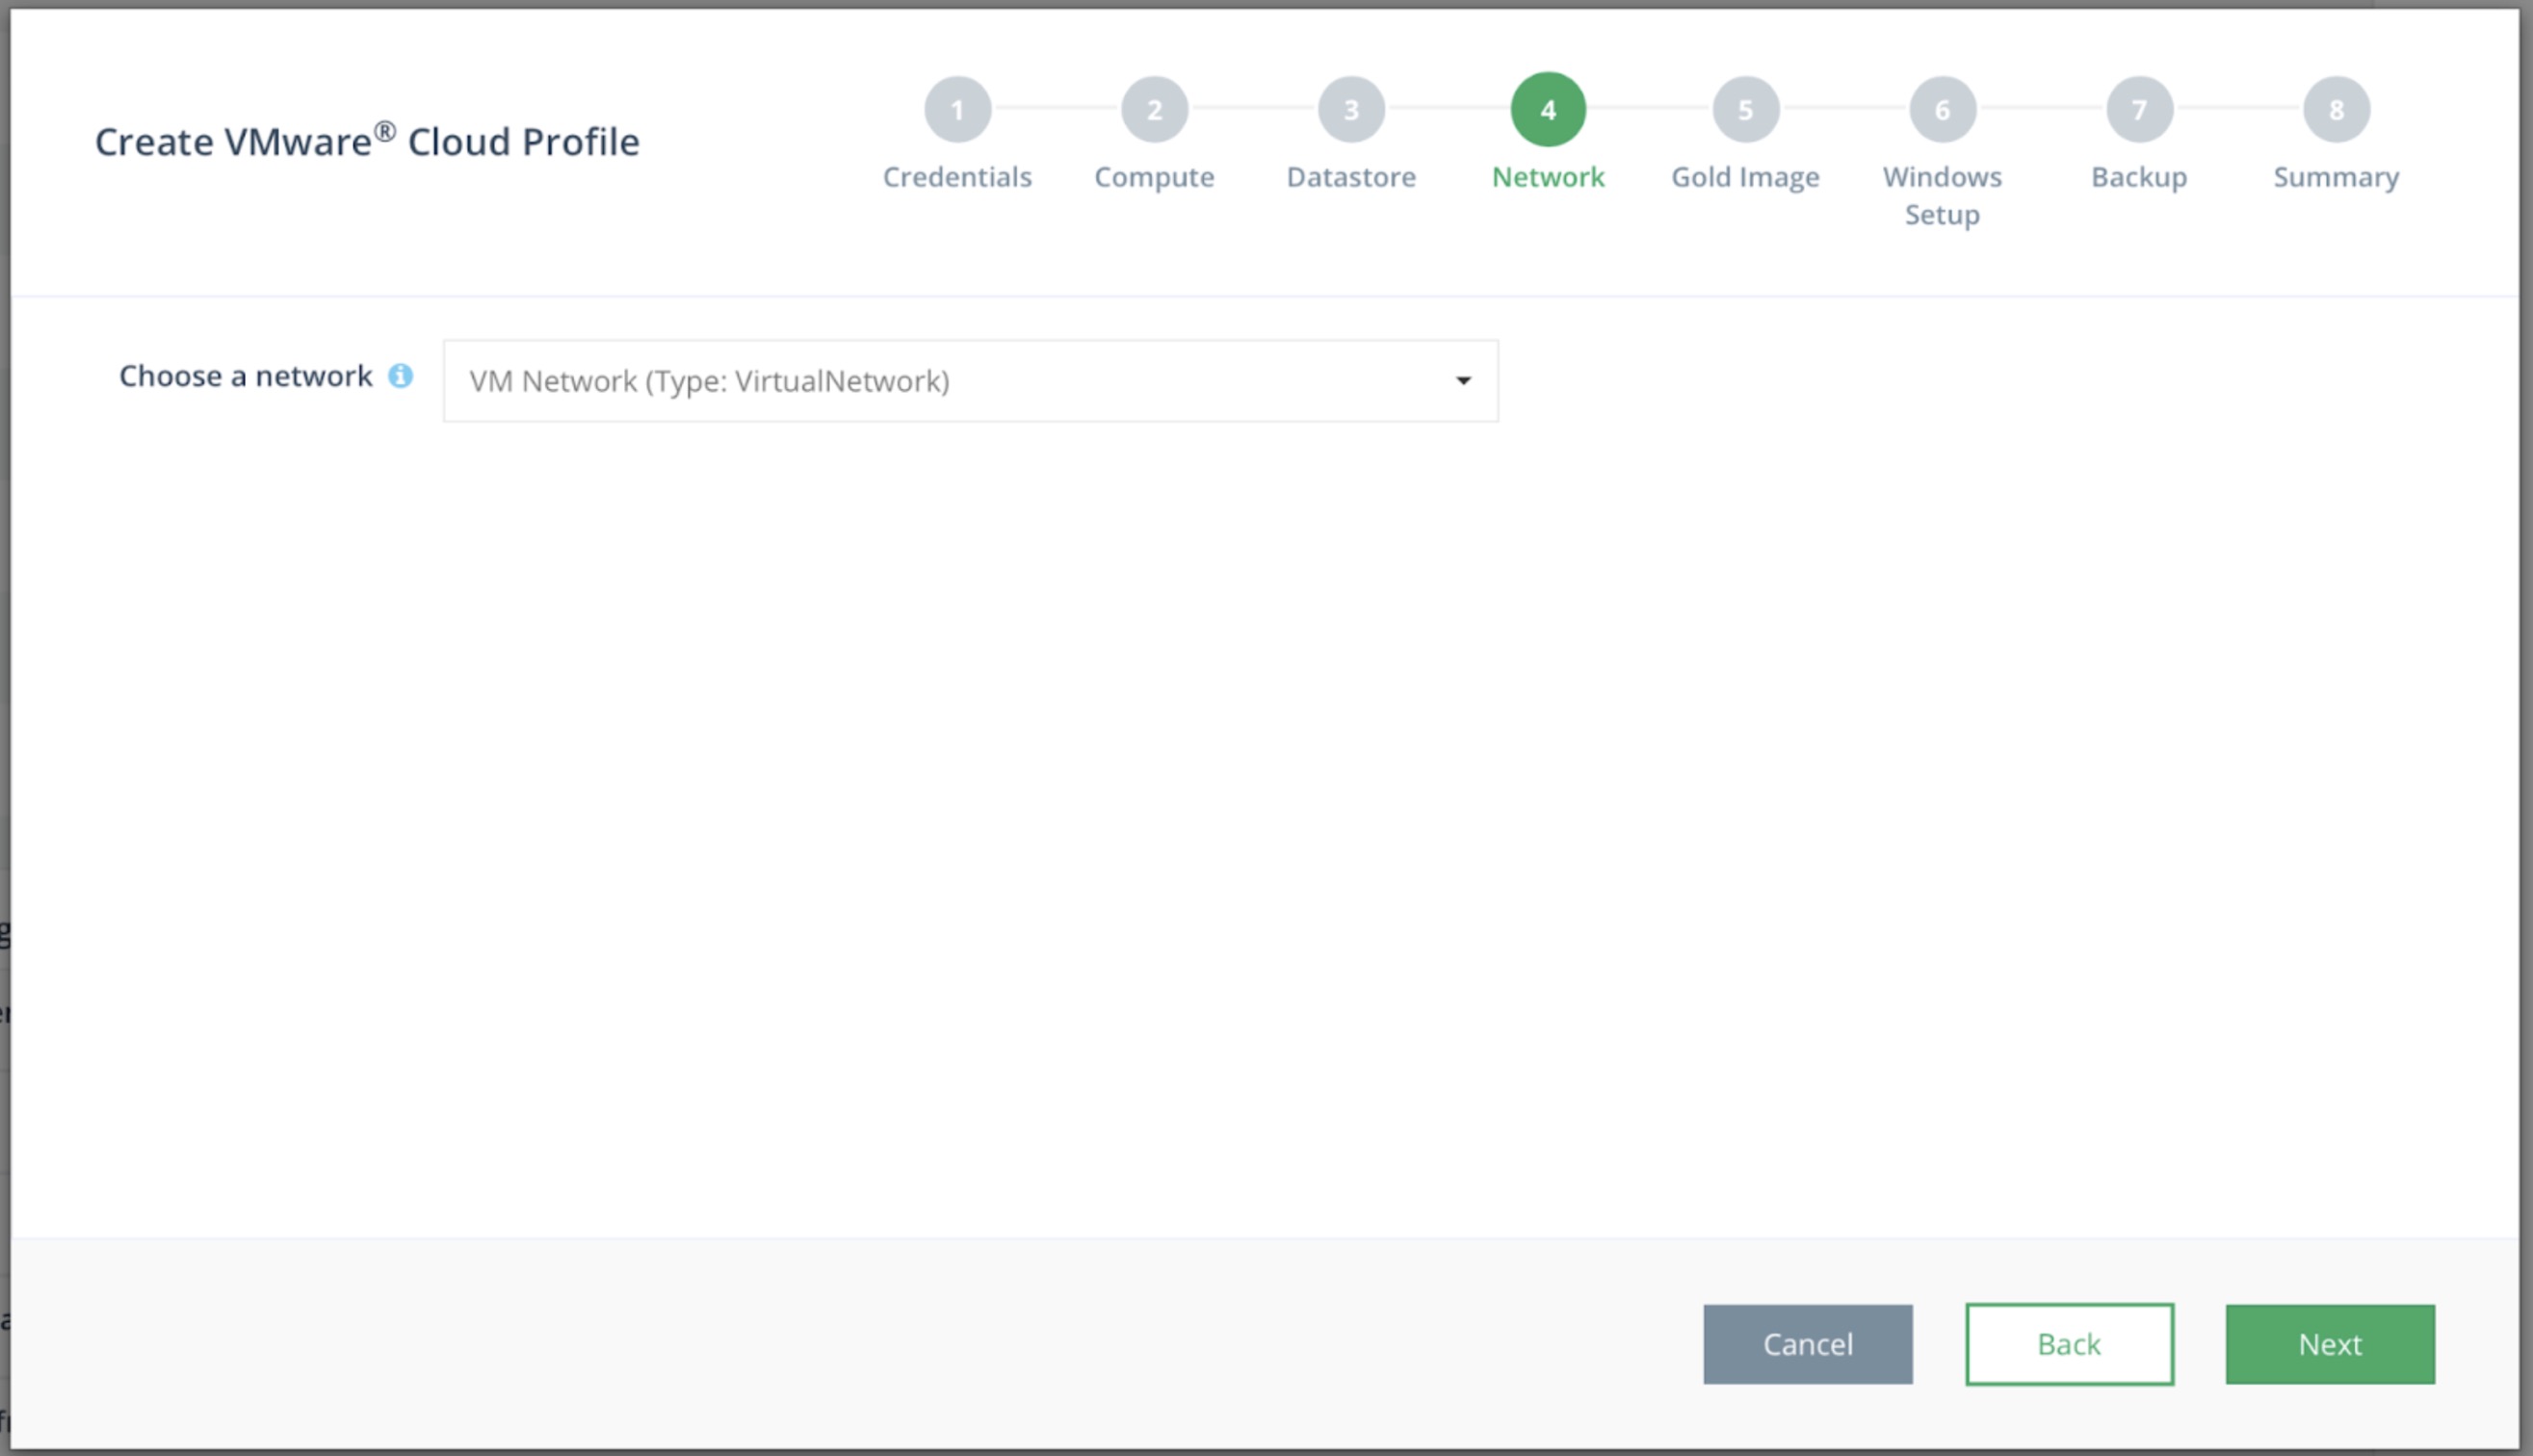
Step 4: Select a Network
Select a network from the dropdown menu. A DHCP server must be available on the selected network. Click the Next button.
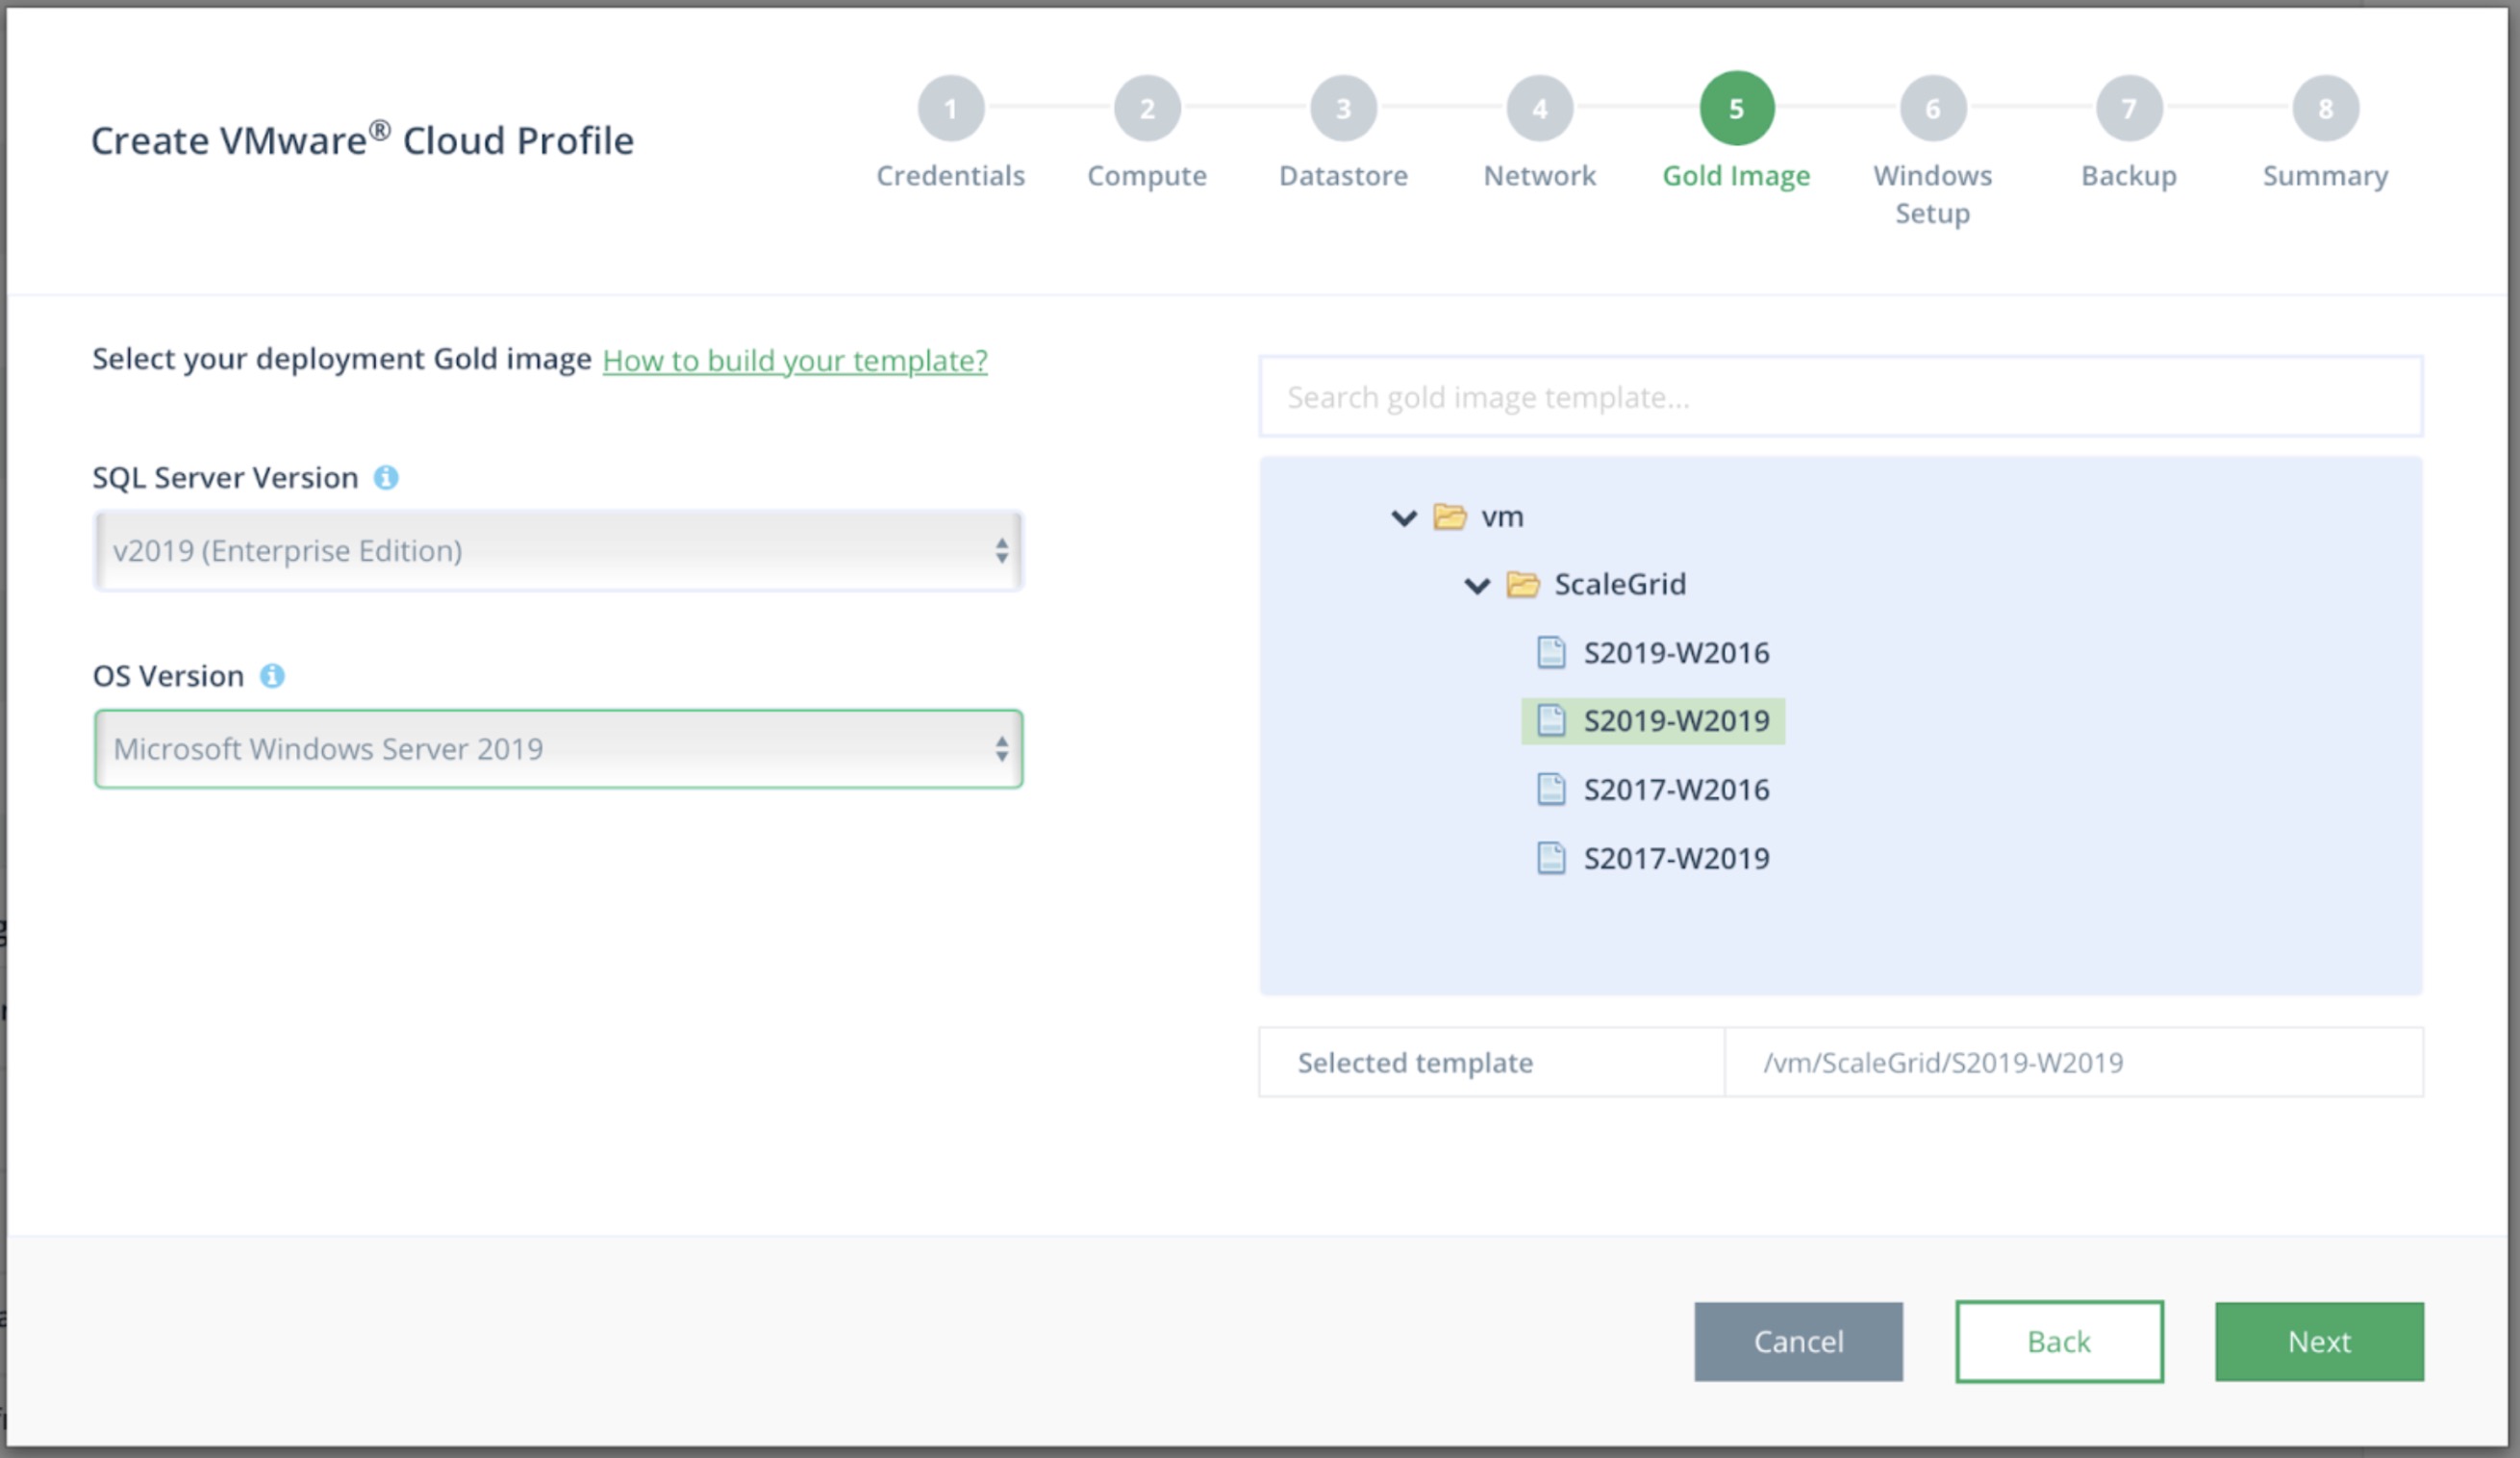
Step 5: Select a Gold Image
You should already have SQL Server Gold Images created or you can follow the steps from SQL Server Gold Image Creation to create your SQL Server Gold Images.
Select SQL Server and OS versions from dropdown menus then select the SQL Server Gold Image from the directory tree associated with versions that you have selected. Click the Next button.
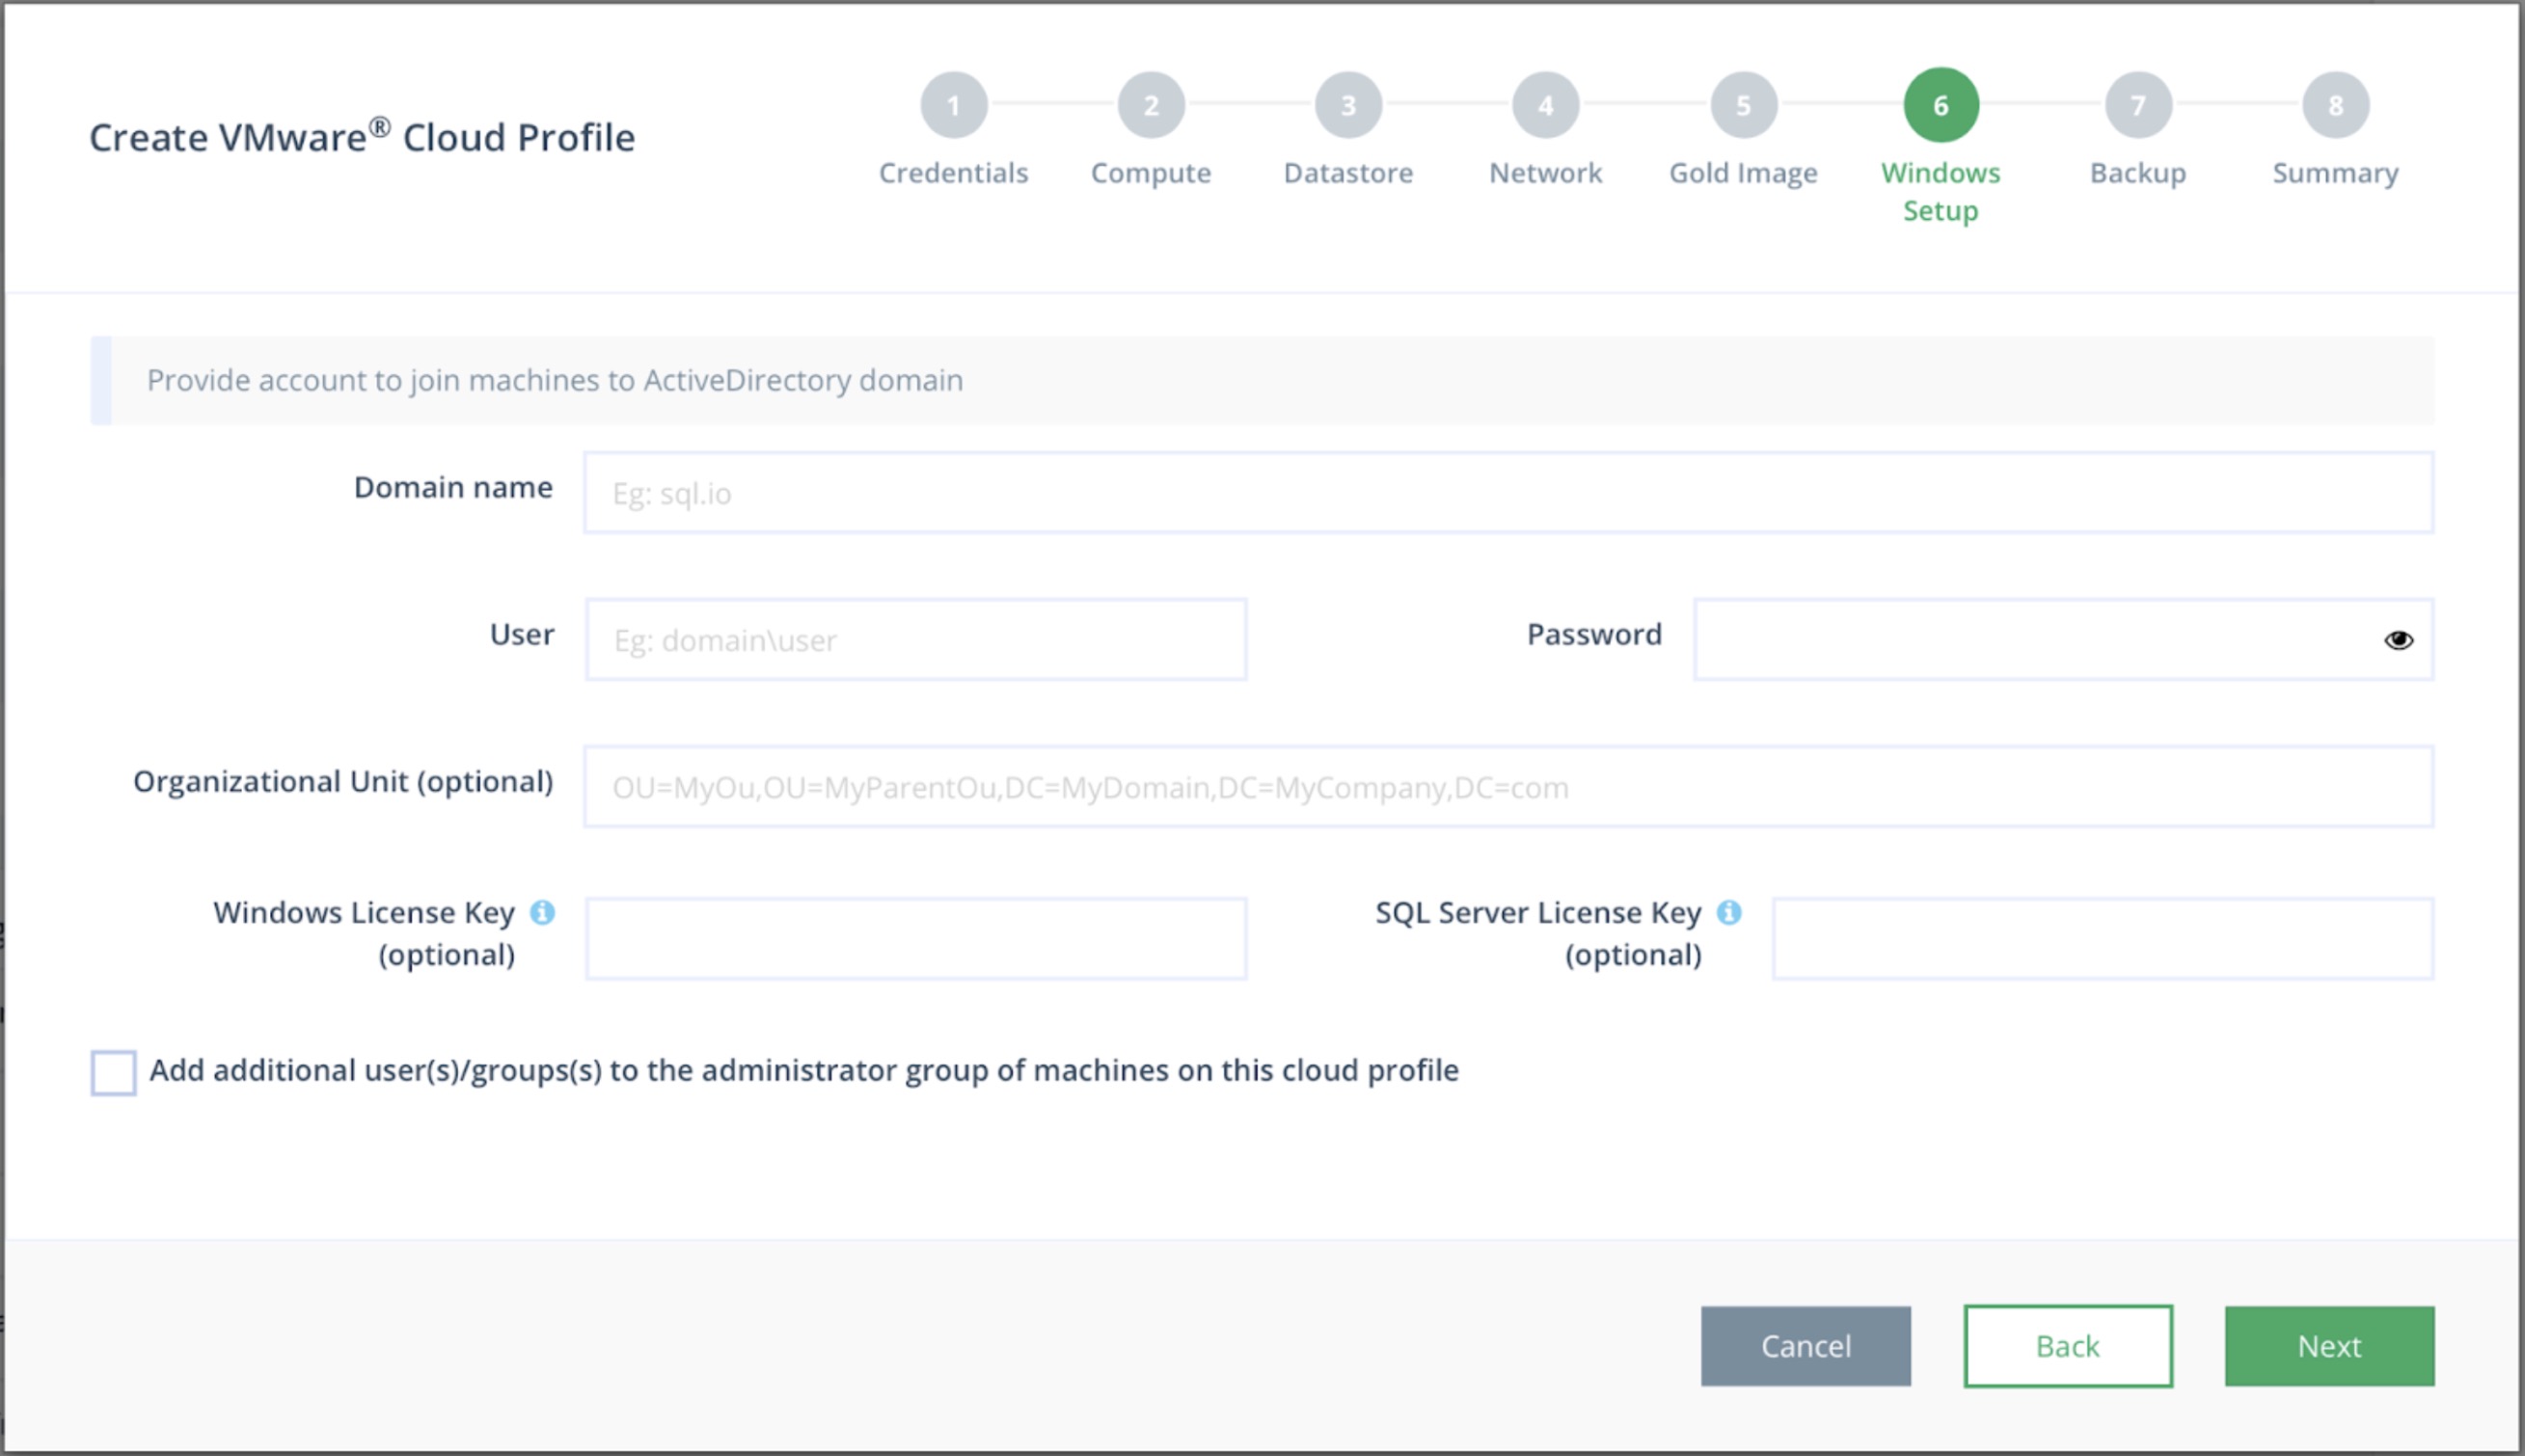
Step 6: Windows Setup
Provide Active Directory domain, user and password for SQL Server machines to join. You also have options to provide your Windows and SQL Server License keys.
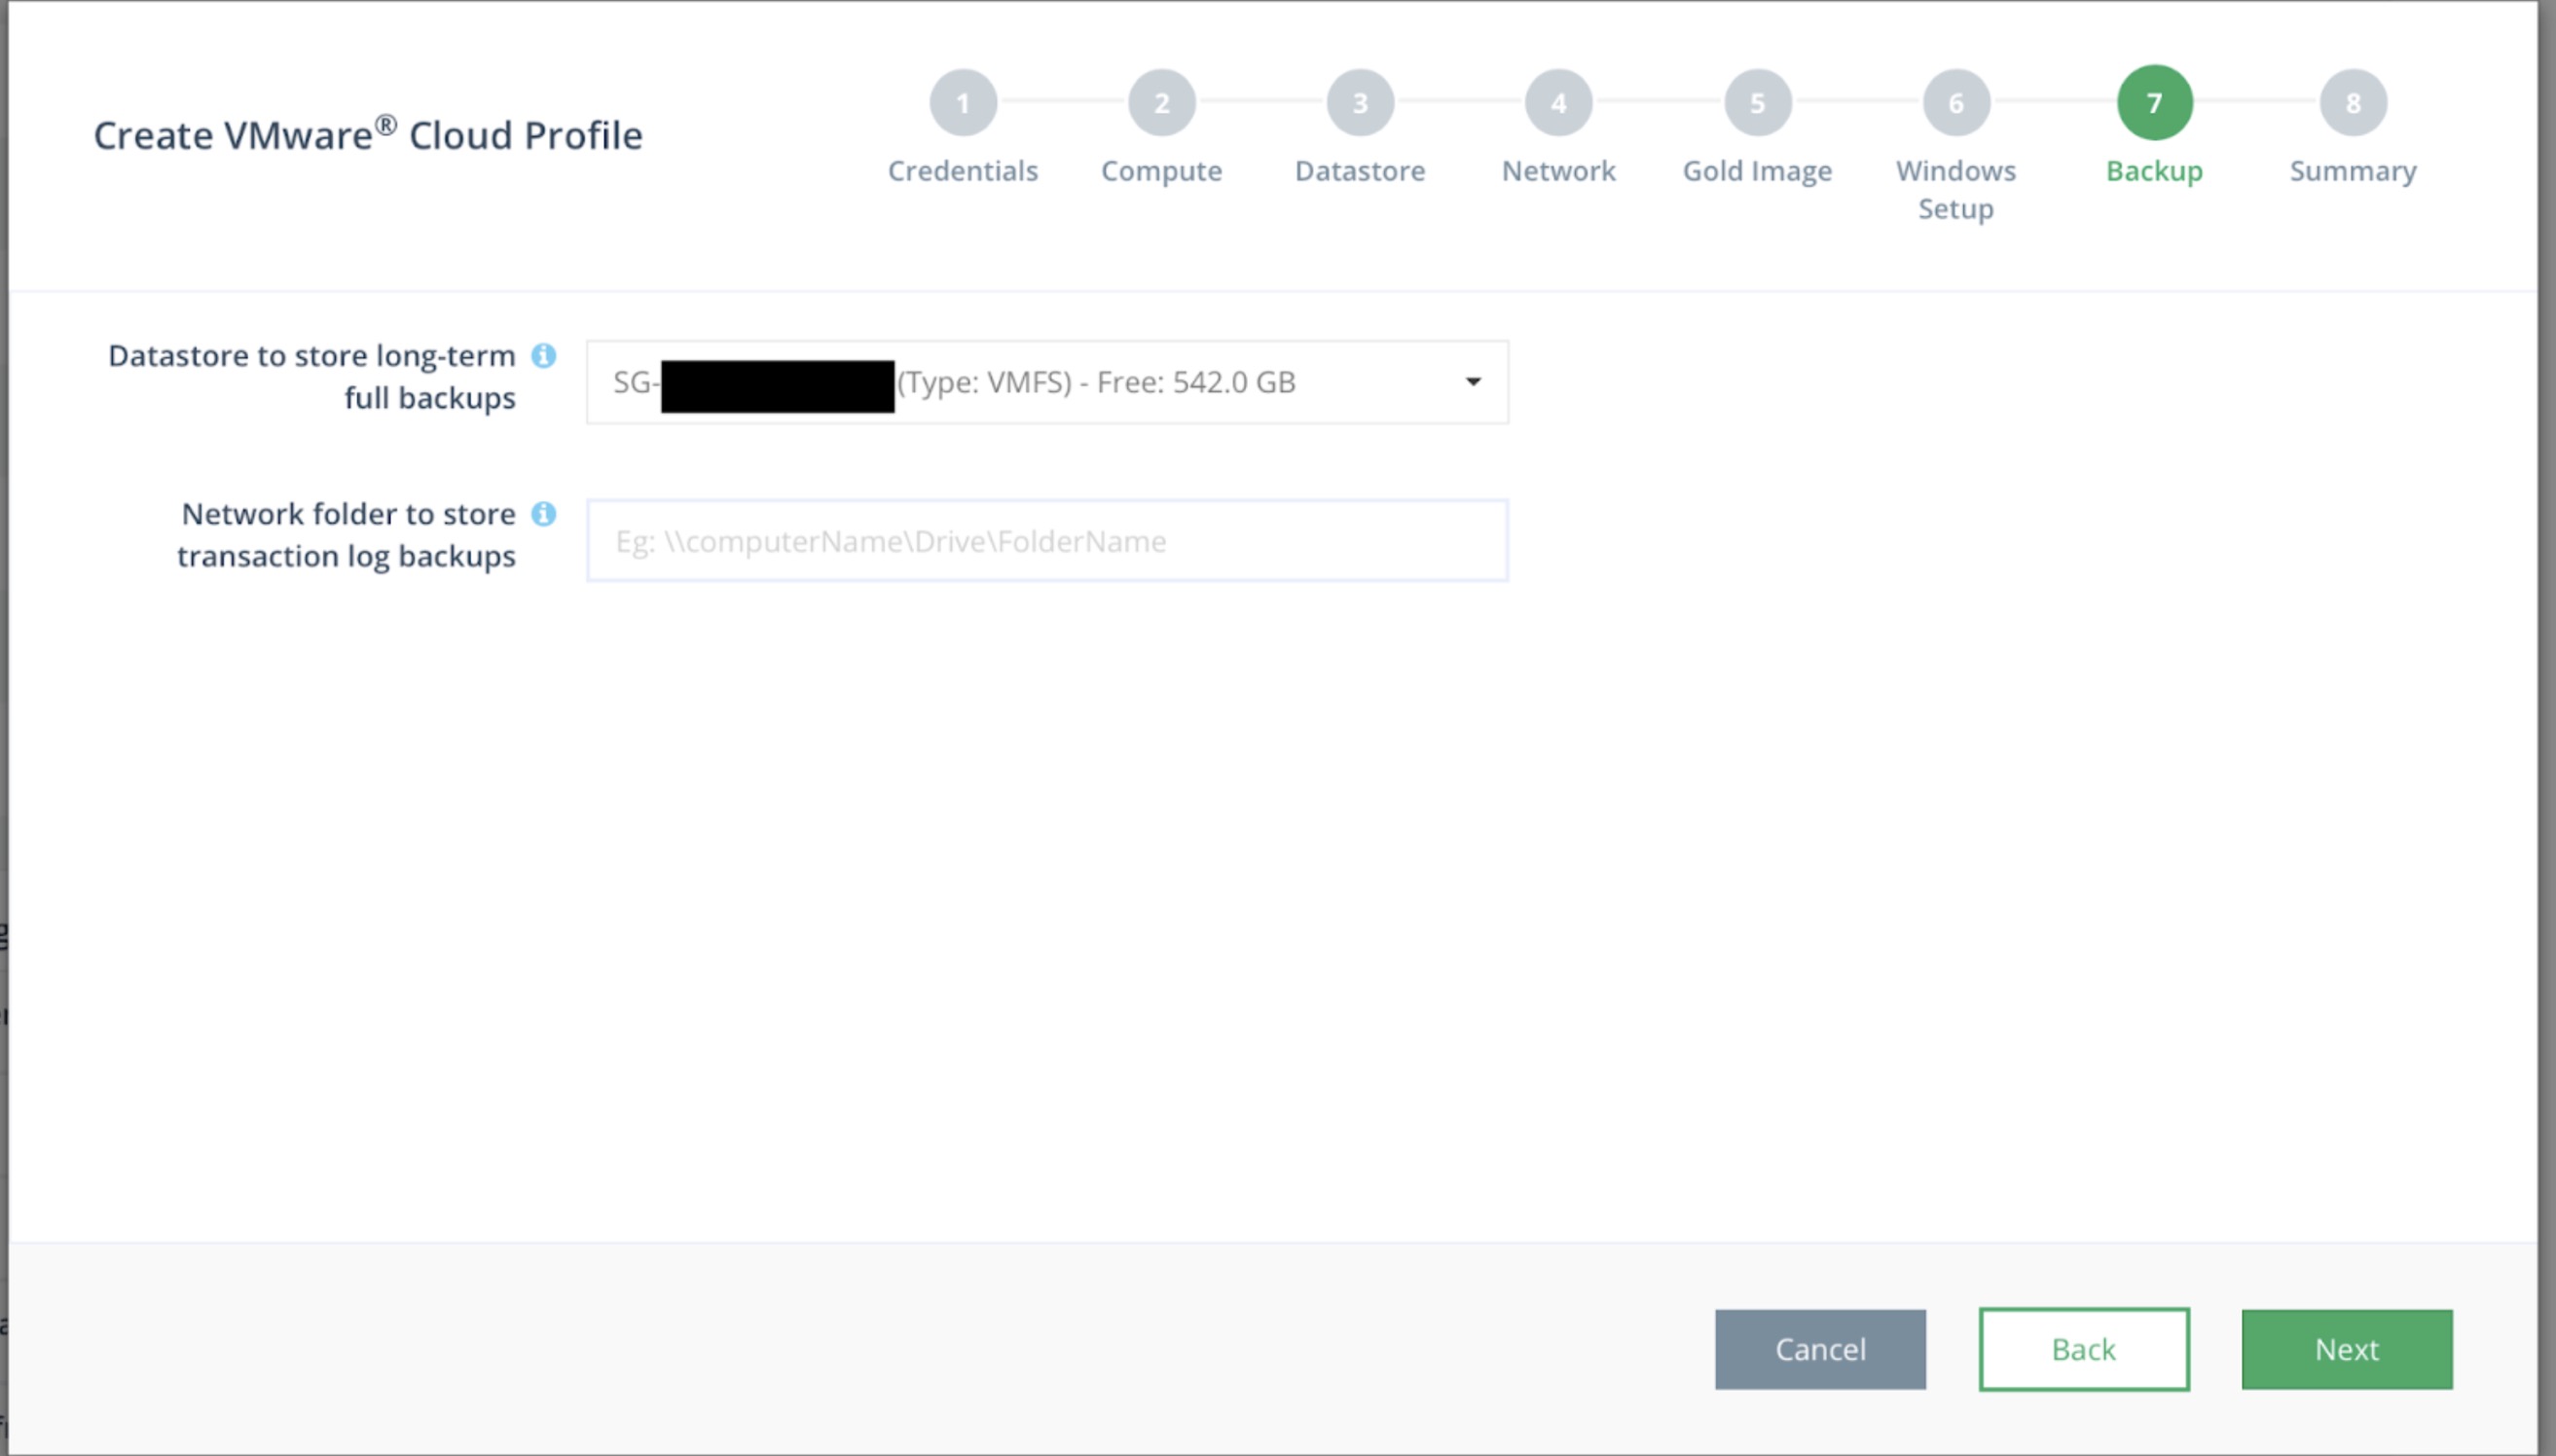
Step 7: Backup Datastore
Select a datastore for storing your long term SQL Server backups.
You also need to provide a network folder to store SQL Server transaction log backups. This network folder is mounted to all your SQL Server machines. Click the Next button.
Step 8: Summary & Create Cloud Profile
Review all your information about this cloud profile then click the Create button to create a cloud profile.
Updated about 1 year ago