
New MongoDB® Cluster: Bring Your Own Cloud
ScaleGrid Bring Your Own Cloud plans are available under four different cloud providers:
- Bring Your Own Cloud - AWS*
- Bring Your Own Cloud - Azure*
- Bring Your Own Cloud - Google Cloud Platform*
- Bring Your Own Cloud - Oracle Cloud Infrastructure
*Unavailable for new ScaleGrid accounts since October 1st 2020
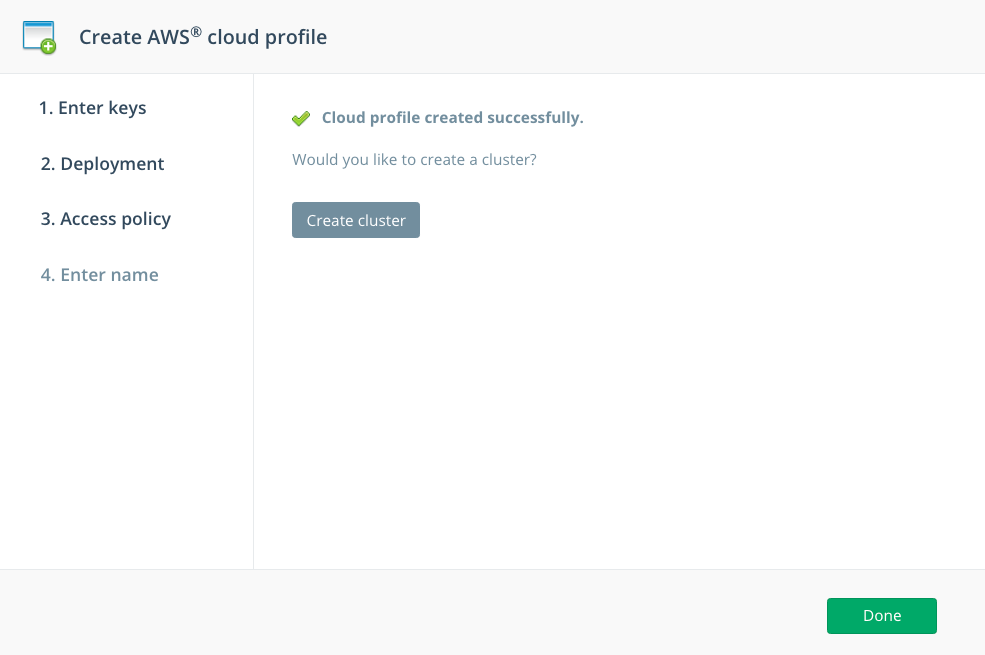
Create a Cloud Profile
All Bring Your Own Cloud plans must have a Cloud Profile created before you can create your cluster. This process takes only a couple minutes to set up, and you can create one for these cloud providers:
- Setup an AWS EC2 Cloud Profile
- Setup an Azure (ARM) Cloud Profile
- Setup a GCP Cloud Profile
- Setup a OCI Cloud Profile
- Setup a DigitalOcean Cloud Profile
- Setup a Akamai Linode Cloud Profile
Cloud ProfilesYou must first create a Cloud Profile before creating a MongoDB® cluster.
Create Your BYOC Cluster
Let's get started creating a MongoDB® cluster with Scalegrid. After completing the Cloud Profile setup, click the blue "Create cluster" button in the pop-up window. You can also create a Bring Your Own Cloud cluster on the MongoDB® page, accessible in the left-hand side menu.
Step 1. New Cluster
- Enter a name for your ScaleGrid for MongoDB® cluster.
- Cloud Profile: Your newly created one should be selected by default.
- VM Size: Select your cluster VM size from Micro to X4XLarge (this will dynamically scale as you grow!).
- Version: Select the version of MongoDB® that you'd like to use with ScaleGrid.
Review this information, then click the green Next button:

Step 2. Replica Set
You have the option to enable replica sets for your MongoDB® cluster. Select the Yes checkbox, and then choose your replica type. From there, you will be prompted to select the data center you'd like to use for each replica:
We recommend you distribute your replica sets across three different availability zones. If you're using a VPC, please create three cloud profiles - one per subnet/availability zone.

Step 3. Shards
To enable sharding for your MongoDB® cluster, you must first enter your payment information in the billing portal. Open a new tab to visit the Console Settings to add a credit card, or click the green Next button to proceed:

Step 4. Advanced
Next, you can enable SSL, encrypt your data disk, and enable disk compression. Click these boxes to enable, and select Snappy or zlib as the compression algorithm you wish to use. After configuring, click the green Next button:

Step 5. Import Data
You also have the option to import data from your existing MongoDB® deployments into your new cluster. Simply turn on the “Import your data” button, and enter the following details on the data you’d like to import before clicking “Next”:
- Server name
- Port
- Database name
- Username
- Password
- Authentication DB
- SSL enabled (optional)

Step 6. Summary
On the last page, review the MongoDB® cluster details for your Bring Your Own Cloud account, and click “Create”.

Step 7. Grab Your Credentials
Find detailed instructions with code samples on our Connecting to MongoDB® with ScaleGrid page.
Your cluster is now being created! This process takes 15-20 minutes, and the “Creating” status on the right-hand side will change to “Running” once it’s complete. While your cluster is being created, grab your credentials to connect to your MongoDB® with ScaleGrid by going into your new cluster and then clicking “Show” next to the Credentials section halfway down your cluster page.
