New MongoDB Cluster: Shared Hosting
MongoDB Shared Hosting plans are ideal for small data sets and dev/test environments.
MongoDB Shared Hosting HighlightsMongoDB 3.4.x Version
WiredTiger Storage Engine
SSL-Enabled
3-Node Replica Set
Free Backups
Unlimited Databases
Seamless Data Scaling
Allocated RAM is 1/10th of the data size (if data is 3GB, the RAM is 300MB).
Data size is measured only for your custom databases - system databases like Oplog are not used to compute the size.
MongoDB Cluster - Shared Hosting Setup
*Estimated time to complete: 5 minutes
- Start your trial on the ScaleGrid Console.
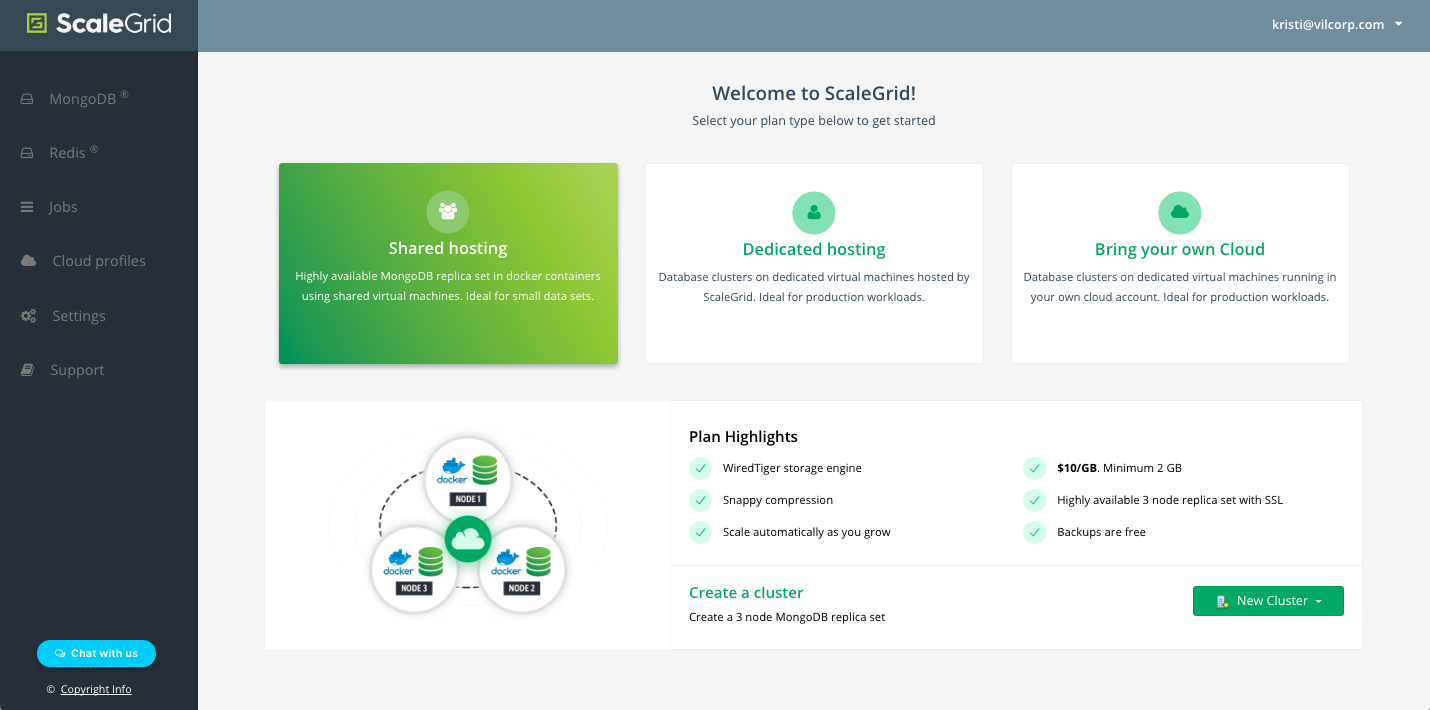
- Select “Shared Hosting” on the Getting Started page, and click New Cluster in the bottom right-hand corner:
Step 1. New Cluster
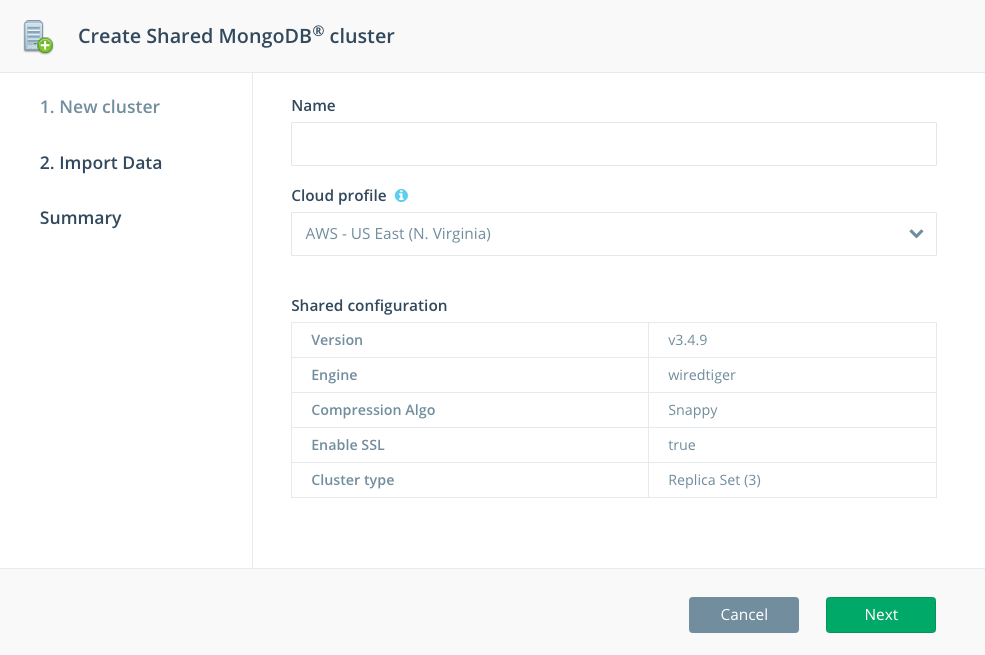
In the pop-up menu, set a name for your cluster using alphanumeric characters. By default, the selected Cloud Profile is the AWS - US East (N. Virginia) region, and you can review the shared configuration details for your MongoDB cluster below. Now, click the Next button:
Step 2. Import Data (optional):
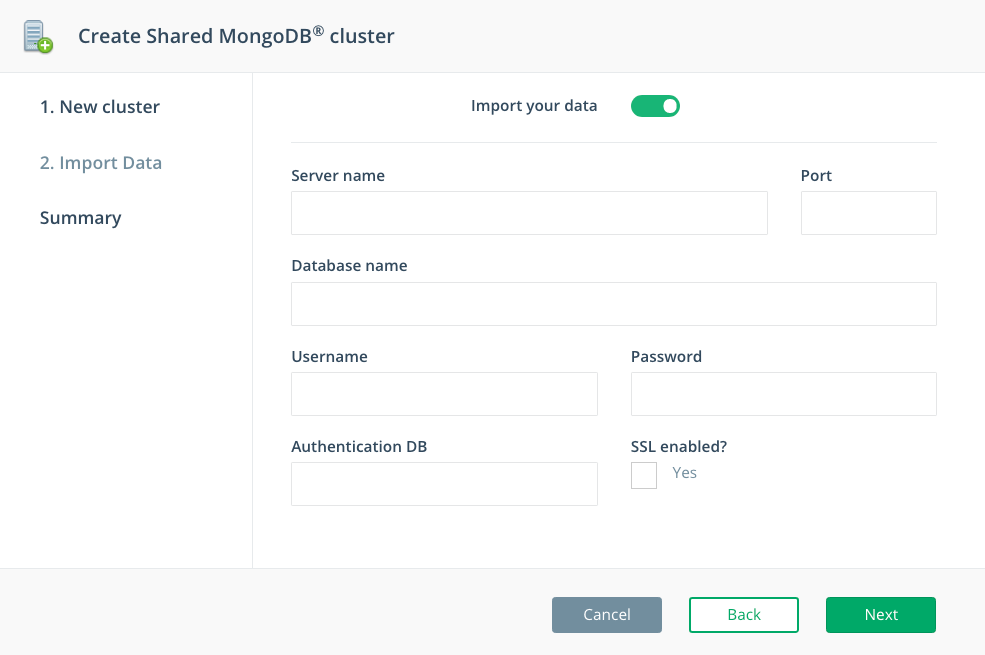
You have the option to import data from your existing MongoDB deployments into your new cluster. Simply turn on the “Import your data” button, and enter the following details on the data you’d like to import before clicking “Next”:
- Server name
- Port
- Database name
- Username
- Password
- Authentication DB
- SSL enabled (optional)
Step 3. Cluster Summary
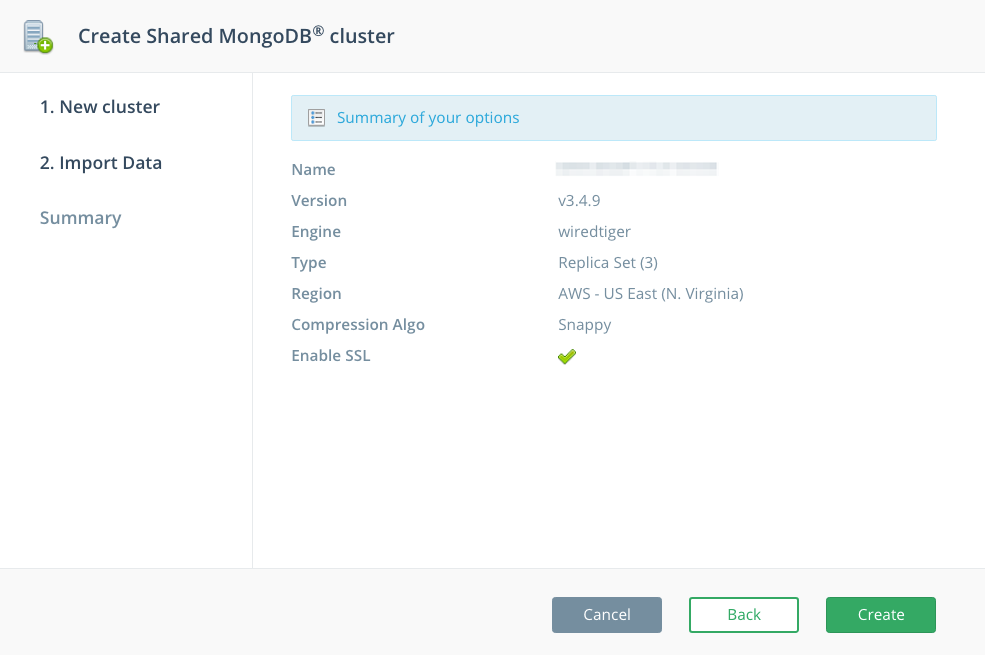
On the last page, review the MongoDB Shared Cluster details you’ve entered, and if all the information is correct, click “Create”.
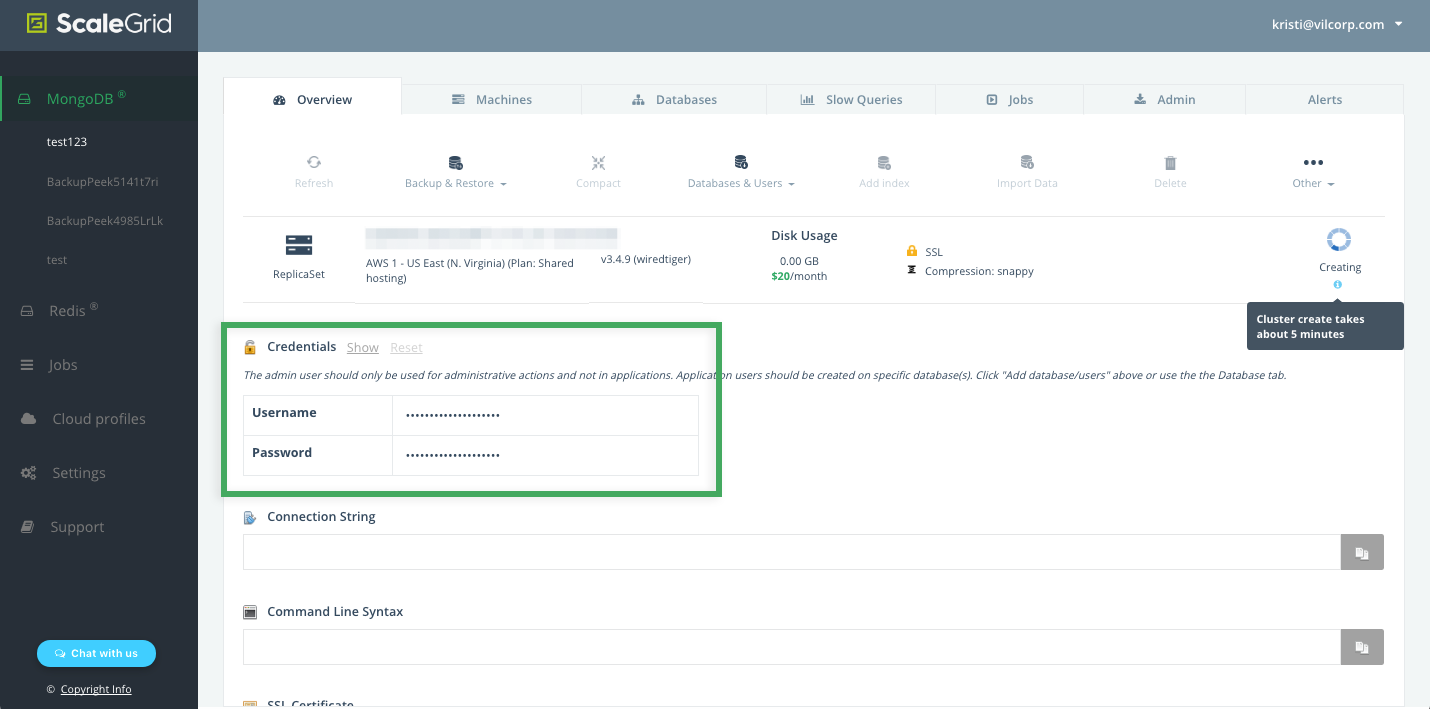
Step 4. Grab Your Credentials
Find detailed instructions with code samples on our Connecting to MongoDB page.
Your cluster is now being created! This process takes about 5 minutes, and the “Creating” status on the right-hand side will change to “Running” once it’s complete. While your cluster is being created, grab your credentials to connect to your MongoDB by clicking “Show” next to the Credentials section halfway down your cluster page.
Updated 7 months ago
